Braising: A Chef’s Guide to Turning Tough Cuts Into Tender Ones
Braising is the technique that takes the cheapest cut of meat in the shop and turns it into something a restaurant would charge $40 for. Here’s how professional kitchens do it — and why home cooks get it wrong.
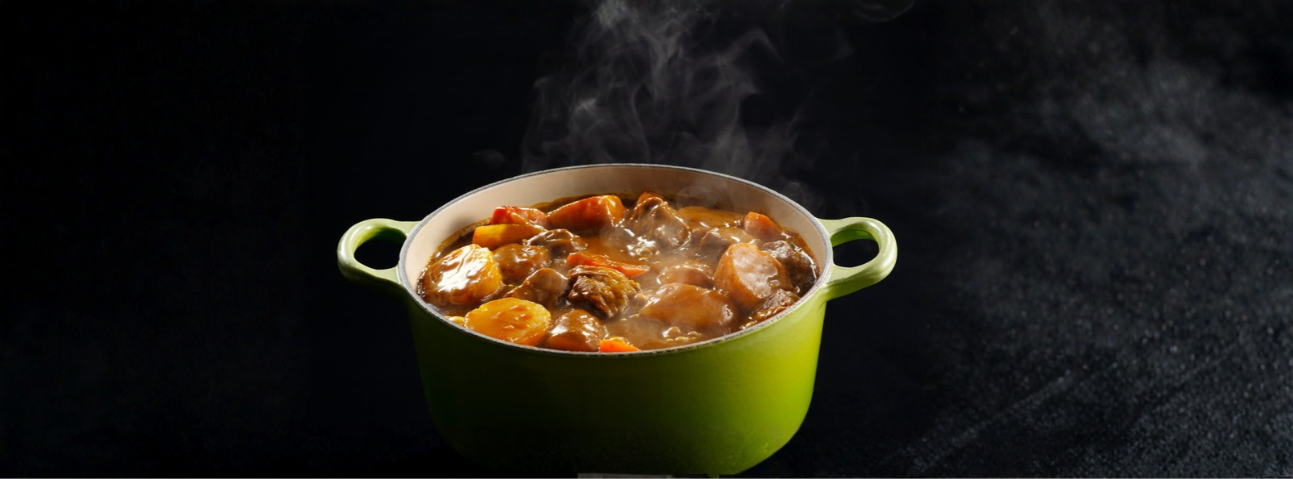
Most home cooks avoid braising because they think it’s complicated. It’s not. Braising is actually one of the simplest techniques in cooking — if you understand what it’s doing.
But that’s the problem. Most people don’t understand what braising actually does. They put meat in a pot with liquid, throw it in the oven, and hope for the best. Sometimes it works. Often it doesn’t.
I’ve spent years working in professional kitchens, and braising was always part of the rhythm — especially in colder months, when the menu shifted to heavier dishes. Braised short ribs. Braised lamb shanks. Braised pork shoulder. Coq au vin. Osso buco. These weren’t “fancy” dishes in the kitchen — they were workhorses. Reliable. Forgiving. And cheap to make.
That’s what makes braising worth learning. It’s the technique that makes expensive-tasting food out of inexpensive ingredients.
This guide explains how braising actually works, how professional kitchens do it, and the mistakes I’ve seen home cooks make over and over.
Table of Contents
ToggleQuick Reference (Chef's Cheat Sheet)
| What | Details |
|---|---|
| Best cuts | Chuck, short rib, shank, brisket, pork shoulder, lamb shoulder, oxtail |
| Cuts to avoid | Tender cuts (filet, ribeye, chicken breast, pork loin) |
| Oven temperature | 275–325°F (135–160°C) — low and slow |
| Liquid amount | 1/3 to 1/2 way up the meat — not fully submerged |
| Best liquids | Stock, wine, beer, canned tomatoes, water |
| Time | 2–4 hours depending on cut |
| Cover | Tightly covered with lid or foil |
| Doneness test | Meat falls apart with a fork — no knife needed |
| After braising | Rest, then reduce sauce separately if needed |
| Best made | A day ahead — flavor improves overnight |
What Braising Actually Does
Braising is the process of cooking meat slowly in a small amount of liquid, in a covered pot, at low heat.
Three things happen during a proper braise:
1. Collagen breaks down into gelatin.
Tough cuts of meat are full of collagen — a connective tissue that makes meat chewy. When collagen is heated slowly in moisture, it converts into gelatin. Gelatin is what gives braised meat its silky, fall-apart texture. This conversion takes time — usually 2–4 hours — and it can’t be rushed.
2. Fat renders slowly.
The fat inside tough cuts melts slowly during braising, basting the meat from the inside. This is why braised meat tastes rich even when the cut itself is lean.
3. Flavors concentrate.
Because the pot is covered, liquid doesn’t evaporate away. Instead, the liquid absorbs flavor from the meat and aromatics, and the meat absorbs flavor from the liquid. It’s a two-way exchange that only happens in a covered pot.
What braising does NOT do:
Braising doesn’t “seal in juices” — same myth as searing. And braising doesn’t work on tender cuts. Braise a filet mignon and you’ll end up with an expensive piece of dry, overcooked meat. Braising is for tough cuts only.
The Professional Way vs. The Home Cook Way
| Step | Home Cook | Professional |
|---|---|---|
| Cut choice | Any cut | Tough, collagen-rich cuts only |
| Searing | Sometimes skipped | Always done — creates depth |
| Liquid | Covers the meat | 1/3 to 1/2 way up |
| Oven temperature | 350–400°F | 275–325°F |
| Time | 1–2 hours | 2–4 hours |
| Checking | Opens the lid often | Leaves it alone |
| Finishing | Serves straight from pot | Rests, then reduces sauce separately |
| Making ahead | Serves same day | Often made a day before |
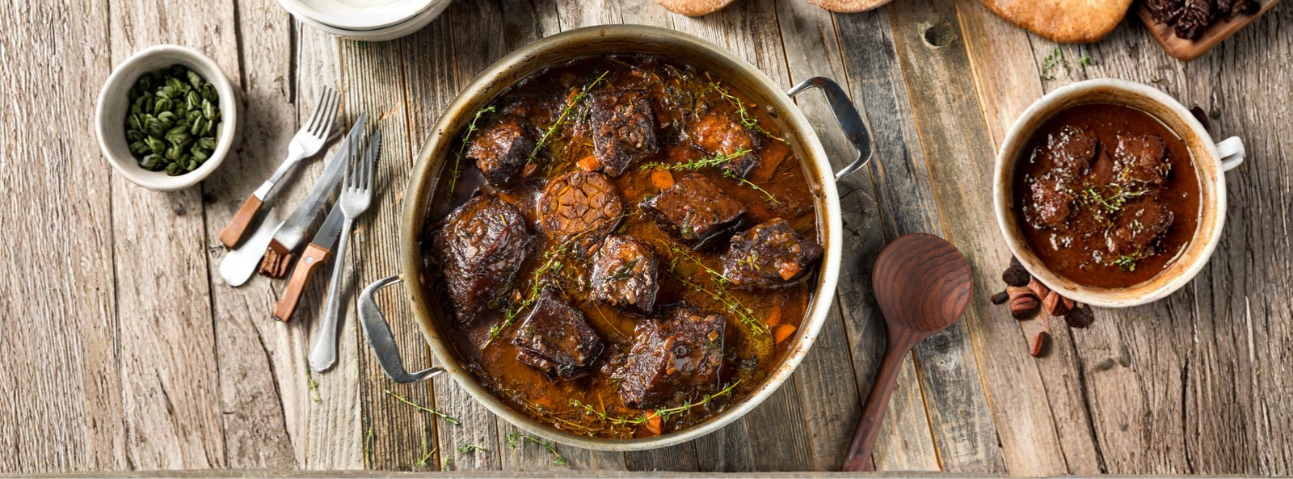
Step-by-Step (From My Experience)
Step 1: Choose the Right Cut
Braising only works on tough, collagen-rich cuts. If you use the wrong cut, braising won’t help.
Best cuts for braising:
Beef: Chuck roast, short rib, brisket, shank, oxtail
Pork: Shoulder (Boston butt), pork belly
Lamb: Shoulder, shank, neck
Poultry: Chicken thighs (bone-in, skin-on), duck legs
Cuts to avoid: Filet mignon, ribeye, sirloin, pork loin, chicken breast, any cut labeled “tender” or “quick-cooking.”
Chef’s note: In professional kitchens, the cheapest cuts are often reserved for braising because they’re the ones that benefit most. Don’t spend money on expensive cuts to braise them — you’re wasting both the cut and the money.
Step 2: Pat the Meat Dry and Season
Dry the meat thoroughly with paper towels. Season generously with salt and pepper on all sides.
Chef’s note: Moisture on the surface prevents browning. Take the extra 30 seconds to dry the meat properly.
Step 3: Sear the Meat
Heat a heavy Dutch oven or braising pot over medium-high heat. Add a high-smoke-point oil. Sear the meat on all sides until deeply browned — about 3–4 minutes per side.
Chef’s note: Searing is not optional in braising. It builds the flavor base that the sauce will carry. Skip it and the final dish tastes flat.
Step 4: Remove the Meat, Sauté the Aromatics
Set the seared meat aside. In the same pot, add chopped onions, carrots, and celery (the classic mirepoix). Sauté until softened, about 5 minutes. Add garlic and herbs in the last minute.
Chef’s note: Don’t clean the pot between steps. The brown bits stuck to the bottom (called “fond”) are pure flavor. The aromatics will lift them as they cook.
Step 5: Deglaze the Pot
Pour in wine, beer, or stock and scrape the bottom of the pot with a wooden spoon to lift the fond. Let the liquid reduce by about half.
Chef’s note: Deglazing is where the flavor of the sear gets transferred into the liquid. This is the step most home cooks rush or skip.
Step 6: Return the Meat, Add Liquid
Place the seared meat back in the pot. Add enough liquid (stock, wine, canned tomatoes, water) to come about one-third to one-half of the way up the meat.
Do not fully submerge the meat. If the meat is drowning, you’re boiling it, not braising it.
Chef’s note: The exposed top of the meat will caramelize in the oven, creating a crust that contrasts with the tender interior. This only works if the meat isn’t fully covered.
Step 7: Cover and Braise
Cover the pot tightly with a lid (or foil). Transfer to a 275–325°F (135–160°C) oven. Braise for:
Chicken thighs: 1.5–2 hours
Pork shoulder: 2.5–3 hours
Beef chuck: 3–3.5 hours
Beef short rib: 3–4 hours
Lamb shank: 2.5–3 hours
Chef’s note: Resist the urge to check every 30 minutes. Every time you open the lid, you lose heat and moisture. Leave it alone.
Step 8: Test for Doneness
After the minimum time, test the meat with a fork. It should slide in with almost no resistance. If it still feels tough, keep cooking — check again every 30 minutes.
Chef’s note: “Fall off the bone” is not a marketing phrase. It’s the actual test. If the meat doesn’t fall apart easily, it’s not done.
Step 9: Rest, Then Reduce the Sauce
Remove the meat from the pot and let it rest for 10–15 minutes.
While it rests, strain the braising liquid into a saucepan and reduce it over medium heat until it thickens slightly. Taste and adjust seasoning.
Chef’s note: If you want a thicker sauce, whisk in a small amount of butter or a slurry (cornstarch + cold water) at the end.
Step 10: Serve
Slice or shred the meat, spoon the reduced sauce over it, and serve with the braised vegetables, mashed potatoes, polenta, or crusty bread.
Chef’s note: Braised dishes often taste better the next day. If you can, make it a day ahead — the flavors deepen overnight.
The Mistakes I've Seen Most
1. Using the wrong cut
Tender cuts don’t braise — they just overcook. Use tough, collagen-rich cuts.
2. Skipping the sear
Searing builds the flavor base. Skip it and the whole dish tastes flat.
3. Using too much liquid
The meat should be partially exposed, not submerged. Too much liquid = boiled meat.
4. Oven too hot
Braising happens at 275–325°F. Higher heat toughens the meat instead of tenderizing it.
5. Not enough time
Collagen conversion can’t be rushed. If the meat is tough, it needs more time, not more heat.
6. Opening the lid too often
Every peek releases heat and moisture. Leave the pot alone.
7. Not reducing the sauce
The braising liquid is not the finished sauce. It needs to be reduced and seasoned separately.
8. Not resting the meat
Resting lets the juices redistribute. Skip it and the meat dries out when you slice.
Temperature and Timing Guide
| Cut | Oven Temp | Time | Liquid Level | Doneness Test |
|---|---|---|---|---|
| Chicken thighs (bone-in) | 325°F | 1.5–2 hrs | 1/3 up | Fork slides in easily |
| Pork shoulder | 300°F | 2.5–3 hrs | 1/2 up | Falls apart with fork |
| Beef chuck roast | 300°F | 3–3.5 hrs | 1/2 up | Shreds with fork |
| Beef short rib | 300°F | 3–4 hrs | 1/2 up | Bone slides out clean |
| Lamb shank | 300°F | 2.5–3 hrs | 1/2 up | Falls off bone |
| Beef brisket | 300°F | 3.5–4 hrs | 1/3 up | Slices cleanly |
| Oxtail | 300°F | 3–4 hrs | 1/2 up | Falls off bone |
| Duck legs | 325°F | 2–2.5 hrs | 1/3 up | Skin crispy, meat tender |
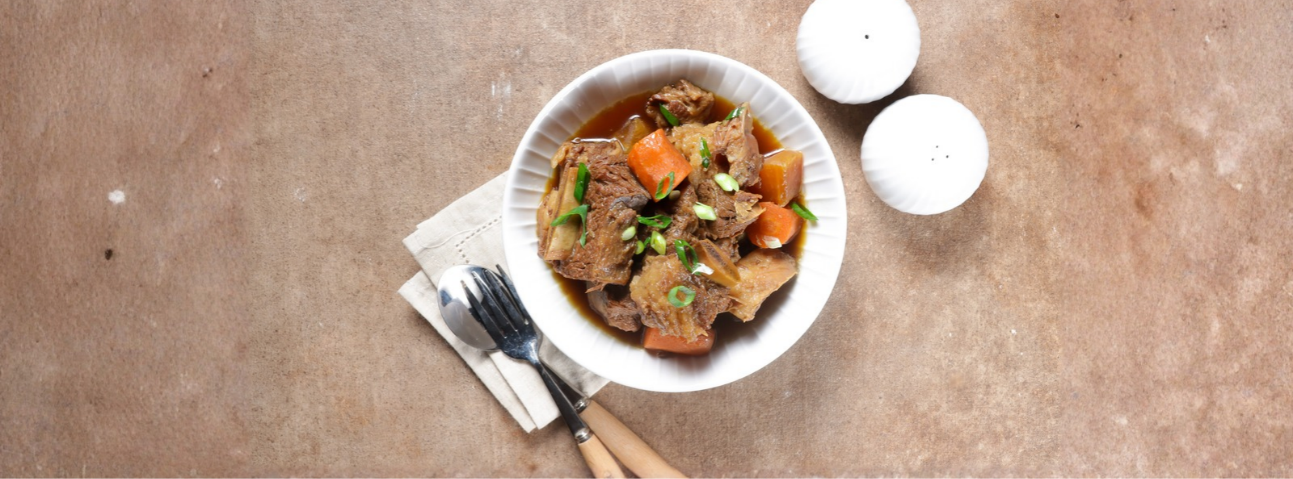
Troubleshooting (What to Do When It Goes Wrong)
Problem: Meat is tough after braising
Cause: Not enough time, or oven temperature too high.
Fix: Return to oven at 300°F and cook longer — check every 30 minutes.
Problem: Meat is dry
Cause: Wrong cut (too lean), or overcooked.
Fix: Braise only collagen-rich cuts. Lean cuts dry out no matter how you cook them.
Problem: Sauce is thin
Cause: Not reduced enough.
Fix: Strain the liquid and reduce over medium heat until it thickens.
Problem: Sauce is too salty
Cause: Too much salt added, or reduced too far.
Fix: Add water or unsalted stock to dilute, then adjust.
Problem: Liquid evaporated during cooking
Cause: Lid wasn’t tight, or oven too hot.
Fix: Add more liquid, cover tightly, reduce heat.
Problem: Meat is falling apart too much
Cause: Cooked too long.
Fix: Not really a problem — shred it and serve as a ragu over pasta or polenta.
What to Serve With Braised Dishes
Braising pairs well with starches that soak up sauce:
Mashed potatoes — classic pairing
Polenta — Italian-style pairing
Crusty bread — for soaking up sauce
Egg noodles — for beef-based braises
Rice — for Asian-style braises
Couscous — for North African-style braises
Vegetables that braise well alongside the meat:
Carrots, onions, celery (mirepoix)
Turnips, parsnips, potatoes
Mushrooms
Fennel
Frequently Asked Questions
1. What cuts are best for braising?
Tough, collagen-rich cuts: chuck, short rib, brisket, shank, pork shoulder, lamb shoulder.
2. Can I braise in a slow cooker?
Yes, but the searing step needs to happen in a pan first. Slow cookers are essentially braising without the oven step.
3. Do I have to sear the meat before braising?
Yes, for best results. Searing builds the flavor base for the sauce.
4. Should the meat be fully covered in liquid?
No. About one-third to one-half of the way up the meat is correct. Fully submerged meat is boiled, not braised.
5. What temperature should I braise at?
275–325°F (135–160°C). Low and slow is the key.
6. How long does braising take?
2–4 hours depending on the cut. If in doubt, cook longer at a lower temperature.
7. Can I braise in a regular pot instead of a Dutch oven?
Yes, as long as it has a tight-fitting lid and can go in the oven. Heavy pots work best.
8. Can I make braised dishes ahead of time?
Yes, and they often taste better the next day. Cool, refrigerate, and reheat gently.
9. Why is my braised meat tough?
Most likely not enough time. Collagen conversion takes hours. Add more time and check again.
10. What's the difference between braising and stewing?
Braising uses larger cuts with less liquid. Stewing uses smaller pieces with more liquid. The technique is essentially the same.
11. Can I braise vegetables?
Yes. Root vegetables, cabbage, fennel, and leeks all braise beautifully.
12. Can I braise frozen meat?
No. Thaw completely first. Frozen meat will cook unevenly.
Final Thoughts
Braising is the technique that separates cooks who understand meat from cooks who just follow recipes.
It’s not complicated. It doesn’t require special equipment. It doesn’t require expensive ingredients. What it requires is time and patience — the two things home cooks often don’t give it.
Get the sear right. Use the right cut. Keep the liquid low. Keep the temperature low. Then leave it alone.
Do those things and you’ll make meat that tastes like it came from a restaurant — with a cut that cost you a fraction of the price.
Braising isn’t a shortcut. It’s a patient technique that rewards patience.
Disclaimer
This article is based on personal experience working in professional kitchens. Cooking techniques and results may vary based on your equipment, ingredients, and skill level. Photos are for illustrative purposes.