Fondant Sculpting: A Chef’s Guide to Edible Art
Fondant sculpting is the technique that turns cakes into art. It’s not just decoration — it’s edible structure, built by hand, shaped with simple tools, and attached with nothing more than water. Here’s how professional cake decorators approach it.
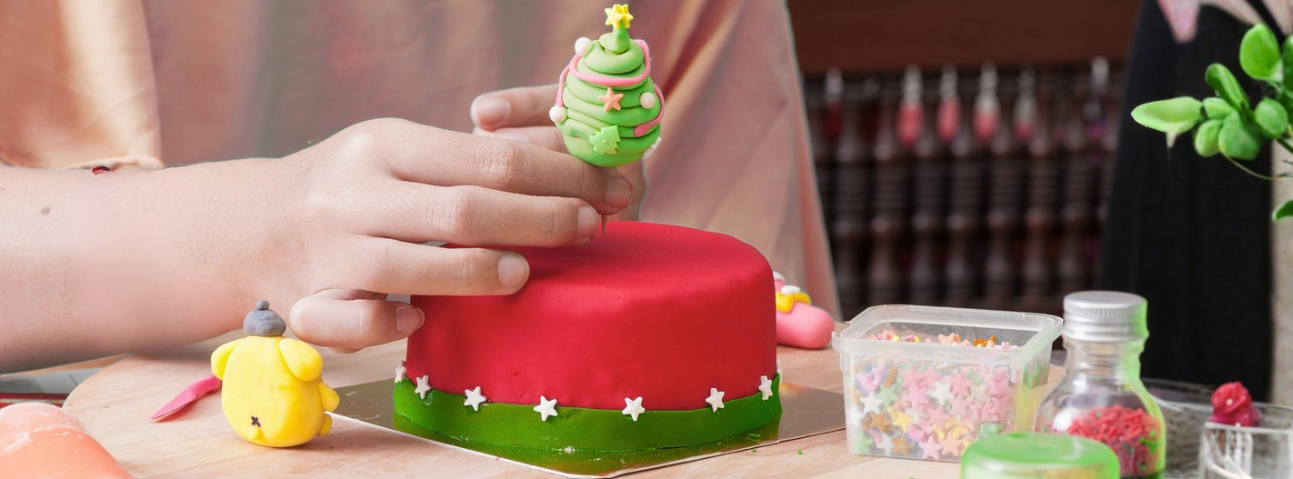
Fondant sculpting is the most creative skill in cake decorating. It’s the technique that turns a plain cake into a three-dimensional centerpiece — flowers, figures, animals, abstract shapes. Unlike piping or painting, fondant sculpting is about building shapes with your hands, not drawing with a bag.
But it’s also the most intimidating technique for home bakers. People see professional fondant work and assume it requires special talent. It doesn’t. It requires patience, practice, and an understanding of how fondant behaves.
I’ve spent years working in professional kitchens, and fondant sculpting was part of the pastry rotation. We sculpted flowers for wedding cakes, figures for birthday cakes, leaves and vines for seasonal cakes. It wasn’t fast. It wasn’t easy. But it was the skill that made our cakes stand out.
This guide explains how fondant sculpting actually works, what tools you need, and the mistakes I’ve seen home bakers make over and over.
Table of Contents
ToggleThe Fondant Sculpting Cheat Sheet
| What | Details |
|---|---|
| What it is | Shaping fondant by hand into three-dimensional decorations |
| Main ingredient | Fondant (rolled or sculpting) |
| Best tools | Rolling pin, knife, toothpicks, modeling tools |
| Fondant consistency | Smooth, pliable, not sticky or dry |
| If too dry | Add shortening or glycerin |
| If too soft | Add powdered sugar |
| Basic shapes | Spheres, cones, cylinders — building blocks |
| Best size to start | Small — 1–2 inches |
| Drying time | A few hours to overnight |
| Attachment | Water or edible glue |
| Storage | Airtight container at room temperature |
| Signs it's right | Smooth surface, holds shape, easy to handle |
What Fondant Sculpting Actually Is
Fondant sculpting is the process of shaping fondant — a sugar-based dough — into three-dimensional decorations by hand.
Four things happen during fondant sculpting:
1. Fondant becomes pliable.
Kneading fondant warms it slightly and makes it smooth and workable. This is the foundation of every sculpted piece.
2. Shapes form.
Rolling, pinching, molding, and pressing fondant into shapes — spheres, cones, cylinders — creates the building blocks of every design.
3. Details are added.
Toothpicks, modeling tools, and knives create textures, lines, and accents. This is what turns a plain sphere into a flower, a face, or an animal.
4. Fondant dries and sets.
Once shaped, fondant dries and holds its form. This is what makes sculptures stable enough to sit on a cake for hours.
What fondant sculpting is NOT:
Fondant sculpting isn’t covering a cake with fondant. That’s a separate skill (rolling and smoothing fondant over a cake). Sculpting is building shapes.
Fondant sculpting isn’t gumpaste work — though the two are related. Fondant is softer, easier to shape, and dries more slowly. Gumpaste is harder, holds finer details, and dries faster. Many decorators use both — fondant for the base, gumpaste for fine details.
The Professional Way vs. The Home Cook Way
| Step | Home Cook | Professional |
|---|---|---|
| Fondant | Whatever's available | High-quality fondant, sometimes homemade |
| Kneading | Quick | Thorough — until smooth and warm |
| Tools | Basic household tools | Modeling tools, ball tools, veiners |
| Shapes | Complex from the start | Simple shapes — spheres, cones, cylinders |
| Size | Large pieces | Small — 1–2 inches |
| Drying | Eaten immediately | Dried overnight before attaching |
| Attachment | Pressed on | Water or edible glue, positioned carefully |
| Practice | Discouraged by mistakes | Repetition — same shape many times |
How I Sculpt Fondant: 10 Steps, Start to Finish
Step 1: Prepare the Fondant
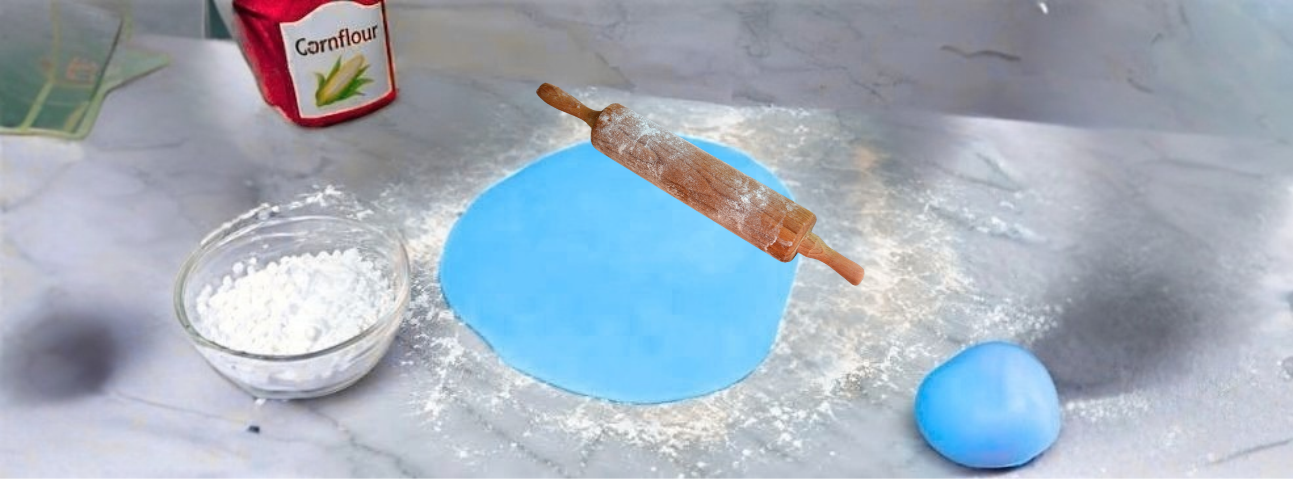
Knead the fondant until it’s smooth and pliable. Warm it with your hands — the heat makes it more workable.
Chef’s note: If the fondant is too dry and cracking, add a little shortening or glycerin. If it’s too sticky, add powdered sugar. The consistency should be like soft Play-Doh.
Step 2: Gather Your Tools
You don’t need expensive tools. You need:
Rolling pin — for rolling fondant flat
Sharp knife or craft knife — for cutting shapes
Toothpicks — for details and small shapes
Modeling tools — optional but helpful for detail work
Powdered sugar — for dusting (prevents sticking)
Shortening — for greasing hands
Small paintbrush — for applying water to attach pieces
Chef’s note: In professional kitchens, we had dozens of tools. But for a home baker, the basics above will handle 90% of what you’ll want to sculpt.
Step 3: Start with an Idea
Choose a design before you start. It could be:
A flower — easy starter
A figure — animal, person, character
An abstract shape — geometric, organic
A themed decoration — matching the cake’s theme
Chef’s note: If you’re new, start with something simple — a flower, a leaf, a ball. Don’t start with a complex figure. Build skills with repetition.
Step 4: Start with Simple Shapes
Everything in fondant sculpting is built from three basic shapes:
Sphere — roll fondant between your palms
Cone — roll a sphere, then pinch one end
Cylinder — roll fondant into a log
Chef’s note: These are the building blocks. A flower is a series of shaped spheres. A figure is a cylinder with a sphere on top. Learn to make these shapes well and you can build anything.
Step 5: Keep It Small
Start with pieces that are 1–2 inches. Small pieces are easier to work with and easier to fix when something goes wrong.
Chef’s note: Don’t try to sculpt a large figure right away. Small shapes let you practice with less pressure. Scale up when you’re confident.
Step 6: Mold with Your Hands
Use your hands to shape the fondant. Be patient and gentle. If something doesn’t look right, reshape it — fondant is forgiving when it’s fresh.
Chef’s note: Warm your hands first. Cold hands make fondant stiff. And work quickly — fondant dries as you handle it.
Step 7: Use Templates (Optional)
For complex shapes, use a template. Draw your design on paper, cut it out, and use it as a guide.
Chef’s note: This is standard practice for professional decorators. Templates ensure consistent sizes and shapes when making multiples — like a dozen flowers for the same cake.
Step 8: Add Details
Details are what make fondant sculptures look real. Use:
Toothpicks — for small dots, lines, and indentations
Modeling tools — for shaping, smoothing, and adding texture
Back of a knife — for lines and veins
Small cookie cutters — for leaves and geometric shapes
Chef’s note: A few well-placed details are better than many. Add details lightly — you can always add more, but you can’t take them away.
Step 9: Let It Dry
Once your sculpture is shaped, let it dry. Small pieces take a few hours; larger pieces may need overnight.
Chef’s note: Dry pieces hold their shape better and are easier to handle. Don’t rush this step — attaching soft fondant to a cake is risky.
Step 10: Attach to the Cake
To attach a dry fondant piece to a cake:
Dip a small brush in water or edible glue
Brush the back of the fondant piece
Press it gently onto the cake
Chef’s note: Position carefully — once fondant touches the cake, it’s hard to reposition. If you need to adjust, use a small spatula to lift and try again.
The Fondant Sculpting Mistakes I've Watched Home Cooks Make
1. Starting with complex designs. Start with simple shapes — spheres, cones, flowers. Build skills.
2. Using dry fondant. Dry fondant cracks. Knead it with shortening or glycerin.
3. Using sticky fondant. Sticky fondant won’t hold shape. Add powdered sugar.
4. Working with cold hands. Cold hands make fondant stiff. Warm your hands first.
5. Not dusting the surface. Fondant sticks to the counter. Dust with powdered sugar.
6. Overworking the fondant. Fondant dries as you handle it. Work quickly.
7. Skipping the drying step. Soft fondant won’t hold its shape on the cake. Dry it first.
8. Attaching with too much water. A small amount is enough. Too much water dissolves the fondant.
9. Positioning without planning. Once fondant touches the cake, it’s hard to reposition. Plan placement first.
10. Giving up too soon. Fondant sculpting takes practice. Every professional started with imperfect shapes. Keep going.
Fondant Sculpting at a Glance
| Shape | How to Make It | Common Uses |
|---|---|---|
| Sphere | Roll between palms | Berries, faces, ornaments |
| Cone | Sphere, pinch one end | Carrots, beaks, noses |
| Cylinder | Roll into a log | Stems, limbs, candles |
| Flower | Layered circles, shaped | Roses, daisies, peonies |
| Leaf | Flat oval, shaped | Vines, floral accents |
| Figure | Base + sphere + details | People, animals, characters |
| Ribbon | Flat strip, folded | Bows, borders |
| Ball cluster | Multiple spheres | Grapes, berries, bubbles |
| Petal | Flat circles, thinned edges | Flowers |
| Geometric | Cut with cutter or knife | Modern designs |
When Fondant Sculpting Goes Wrong
Problem: The fondant cracks.
Cause: Too dry.
Fix: Add shortening or glycerin. Knead thoroughly.
Problem: The fondant is sticky.
Cause: Too soft.
Fix: Add powdered sugar. Knead until workable.
Problem: The shape won’t hold.
Cause: Fondant too warm, or not dried enough.
Fix: Chill the shape briefly, then let it dry at room temperature.
Problem: The details won’t stick.
Cause: No water or glue.
Fix: Use a small amount of water or edible glue to attach details.
Problem: The fondant piece won’t stay on the cake.
Cause: Piece is too soft, or cake surface is too smooth.
Fix: Dry the piece fully. Score the cake surface slightly where the piece will attach.
Problem: The fondant picked up dust or lint.
Cause: Fondant is sticky or exposed.
Fix: Cover unused fondant. Work on a clean surface.
Problem: The fondant dried too fast.
Cause: Exposure to air.
Fix: Keep the fondant covered with plastic wrap when you’re not shaping it.
Problem: The colors are bleeding.
Cause: Too much food coloring, or fondant too wet.
Fix: Use gel food coloring. Add colors in small amounts.
What to Serve With Fondant-Decorated Cakes
Fondant-decorated cakes are usually served with:
Coffee — classic pairing
Tea — especially with floral designs
Milk — with chocolate cakes
Ice cream — on the side
Fresh berries — for contrast
Champagne — for celebration cakes
Questions about Fondant Sculpting, Answered
1. What's the difference between fondant and gumpaste?
Fondant is softer, dries more slowly, and is easier to sculpt. Gumpaste is harder, dries faster, and holds finer details.
2. Do I need special tools to sculpt fondant?
No. Rolling pin, knife, and toothpicks will get you started. Add tools as you grow.
3. Can I make fondant at home?
Yes, but it’s easier to buy. Store-bought fondant is consistent and reliable.
4. What if my fondant is too dry?
Add a little shortening or glycerin. Knead thoroughly.
5. What if my fondant is too soft?
Add powdered sugar. Knead until workable.
6. How long does fondant take to dry?
Small pieces: a few hours. Larger pieces: overnight.
7. Can I eat fondant sculptures?
Yes. Fondant is edible. Some decorators use gumpaste, which is technically edible but harder.
8. How do I attach fondant to a cake?
Use a small amount of water or edible glue. Press gently.
9. Can I store fondant sculptures?
Yes — in an airtight container at room temperature. Not in the fridge (moisture ruins fondant).
10. How do I color fondant?
Use gel food coloring. Knead it into the fondant until evenly colored.
11. Can I mix colors?
Yes. Start with a small amount of the darker color and knead into the lighter.
12. How do I make flowers?
Start with a small sphere, flatten into circles, layer and shape. Cut petals with a knife or cutter.
13. What if my figure doesn't look right?
Start over. Fondant is forgiving when it’s fresh. It’s better to redo than to force.
14. Can I use fondant on any cake?
Yes, but fondant holds best on cakes covered in buttercream or ganache.
15. How long does fondant last on a cake?
Fondant-decorated cakes should be eaten within 2–3 days for best quality.
Final Thoughts
Fondant sculpting is the technique that turns a cake into a work of art. It’s not fast. It’s not always easy. But it’s the skill that makes your cakes unforgettable.
The rules are simple:
Knead fondant until smooth and pliable
Start with simple shapes
Keep pieces small
Add details lightly
Let pieces dry before attaching
Attach with water or edible glue
Do those things, and fondant sculpting becomes one of the most rewarding skills in your cake decorating toolkit.
In professional kitchens, fondant sculpting was the technique that separated good cakes from exceptional ones. It wasn’t fast. It wasn’t cheap. But it was the skill that made people stop and stare.
Fondant sculpting isn’t decoration. It’s edible art — built by hand, one small piece at a time.
Disclaimer
This article is based on personal experience working in professional kitchens. Cooking techniques and results may vary based on your equipment, ingredients, and skill level. Photos are for illustrative purposes.