Grilling: A Chef’s Guide to Getting It Right Every Time
Grilling looks simple: meat, fire, flip. It’s not. Grilling is the technique most home cooks abandon halfway through — and it shows in the results. Here’s how professional kitchens do it.
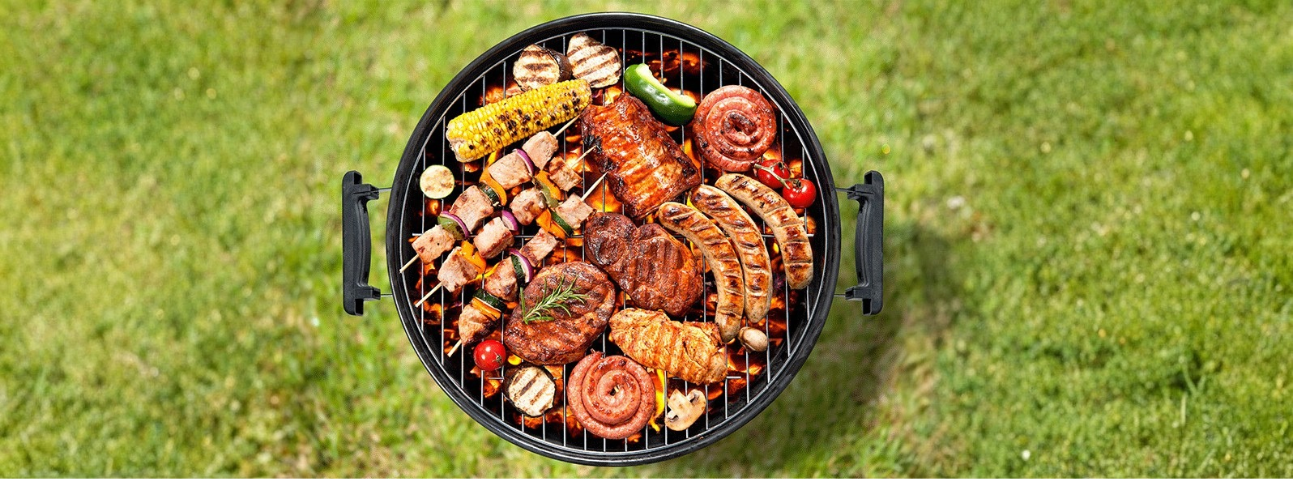
Grilling is one of the oldest cooking methods in the world. Long before ovens, stovetops, or sous vide machines, people were cooking over open fire. The method was born out of necessity — meat, fire, heat, and patience.
That hasn’t changed. Grilling is still one of the most useful techniques in any kitchen. But somewhere along the way, it became misunderstood. Home cooks think grilling is just “putting meat on a hot grill and flipping it.”
It’s not.
Grilling has specific rules:
The fire has to be the right temperature at the right time
The food has to be prepped correctly
You have to stay with the grill — not walk away
You have to know when to flip, and when NOT to flip
You have to know when to move food to indirect heat
I’ve spent years working in professional kitchens, and grilling was always part of the rhythm — especially in warmer months. We grilled steaks, chicken, fish, vegetables, even fruit. And the single biggest mistake I saw — both in professional kitchens and at home — was the same: people leave the grill unattended. They walk away, forget about it, come back to burnt food, and then wonder what went wrong.
This guide explains how grilling actually works, why charcoal beats gas, how professional kitchens do it, and the mistakes I’ve seen over and over.
Table of Contents
ToggleQuick Reference (Chef's Cheat Sheet)
| What | Details |
|---|---|
| What it is | Cooking food over direct or indirect heat from a grill |
| Best fuel | Charcoal (lump or briquettes) — gas is a convenience, not an upgrade |
| Fire setup | Two-zone: hot side for searing, cool side for finishing |
| Charcoal temperature | 400–500°F (204–260°C) on the hot side |
| Best foods | Steak, chicken, fish, burgers, vegetables, fruit |
| Food prep | Dry surface, seasoned, room temperature |
| Time on direct heat | 2–4 minutes per side for most proteins |
| When to move to indirect | After searing — finish with lid closed |
| Signs of good grilling | Deep char marks, food releases easily, juices run clear |
| When to flip | Once — when the food releases on its own |
| After grilling | Rest the meat 5–10 minutes before slicing |
What Grilling Actually Does
Grilling is the process of cooking food over a direct heat source — charcoal, wood, or gas — with the food exposed to high temperatures.
Three things happen during a proper grill:
1. The Maillard reaction.
When food hits the hot grill grate, the surface temperature rises above 300°F (150°C), triggering the same browning that happens in searing and pan-frying. This creates the char, the crust, and the deep flavor that define grilled food.
2. Smoke infusion.
Charcoal and wood produce smoke that flavors the food as it cooks. This is what separates grilled food from pan-fried or roasted food — it’s not just about heat, it’s about the smoke. The Maillard reaction makes food taste “browned”; smoke makes it taste “grilled.”
3. Fat rendering and juice retention.
The fat on the meat renders and drips onto the coals, causing flare-ups and more smoke. Meanwhile, the meat’s interior cooks gently. When done right, grilled meat is juicy on the inside, crusty on the outside.
What grilling does NOT do:
Grilling is not the same as barbecue. Grilling uses high, direct heat for a short time (steaks, burgers, chicken breasts). Barbecue uses low, indirect heat for a long time (brisket, pork shoulder, ribs). They’re related techniques but not interchangeable.
The Professional Way vs. The Home Cook Way
| Step | Home Cook | Professional |
|---|---|---|
| Fuel | Gas for convenience | Charcoal or wood for flavor |
| Fire setup | One zone, all the same heat | Two zones: hot and cool |
| Temperature | Judged by hand over the grate | Verified with thermometer |
| Attention | Walks away, checks phone | Stays with the grill |
| Flipping | Flips repeatedly | Flips once, moves to indirect heat |
| Lid | Lid open the whole time | Lid closed for finishing |
| Resting | Serves immediately | Rests 5–10 minutes |
| Cleanup | Wire brush only | Brush, oil grates, prep for next use |
Why Charcoal Beats Gas
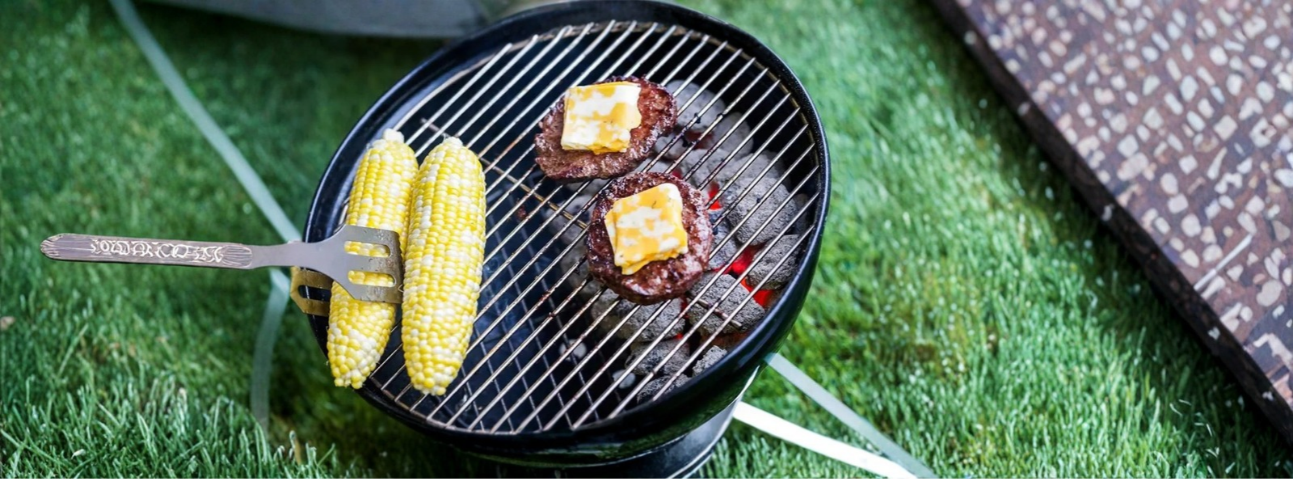
This is not a controversial opinion in professional kitchens. Charcoal is better than gas for grilling. Here’s why:
1. Higher heat potential.
Good lump charcoal can reach 700°F or more. Most gas grills top out around 500°F. Higher heat means better searing, faster cooking, and more control.
2. Smoke flavor.
Charcoal produces smoke as it burns, which flavors the food. Gas produces almost no smoke. You can add wood chips to a gas grill, but it’s a workaround, not a substitute.
3. Temperature control via fire management.
With charcoal, you control heat by how you arrange the coals and how much air reaches them. This gives you more control than a gas dial.
4. It’s the real thing.
Grilling over charcoal is closer to the original technique. It’s what chefs mean when they say “grill.”
Chef’s note: Gas grills have their place — they’re fast, convenient, and easy to clean. But if you have the choice and the time, use charcoal. The difference in flavor is real.
Step-by-Step (From My Experience)
Step 1: Choose Your Fuel and Setup
If using charcoal:
Light a chimney starter full of lump charcoal (or briquettes)
Wait 15–20 minutes for the coals to turn grey with ash
Pour coals onto one side of the grill — this creates the hot zone
Leave the other side empty — this is the cool zone
If using gas:
Preheat on high for 10–15 minutes with the lid closed
Keep one burner on high, one on low — this creates your two zones
Chef’s note: The two-zone setup is critical. You’ll use the hot side to sear and the cool side to finish. If everything is on high heat, you’ll burn the outside before the inside cooks.
Step 2: Prep the Food
Pat the food completely dry with paper towels. Any surface moisture will steam instead of sear.
Season the food generously with salt and pepper. For steak, season 30–45 minutes ahead if possible. For chicken and fish, season right before grilling.
Bring meat to room temperature before grilling — 20–30 minutes out of the fridge for steaks and chicken.
Chef’s note: Don’t oil the food — oil the grates. Oiling the food can cause flare-ups.
Step 3: Clean and Oil the Grates
While the grill is heating, brush the grates clean with a wire brush.
Once the grates are hot (about 5 minutes), oil them:
Fold a paper towel into a small pad
Dip it in high-smoke-point oil (canola, grapeseed, vegetable)
Using tongs, wipe the oiled pad across the hot grates
Chef’s note: This is the step most home cooks skip, and it’s why their food sticks. Hot, oiled grates = non-stick grilling.
Step 4: Place the Food on the Hot Side
Lay the food on the hot side of the grill. Place it diagonally to the grate lines — this creates crosshatch marks when you rotate later.
Chef’s note: Don’t overcrowd the grill. Leave space between each piece so heat and smoke circulate.
Step 5: Stay With the Grill — Don’t Walk Away
This is the #1 mistake I’ve seen.
Home cooks light the grill, put food on, and then walk away. They come back five minutes later to find burnt food, flare-ups, or overcooked meat.
In professional kitchens, you never leave the grill during service. You stand there, watch the food, and manage the fire. If you’re grilling at home, do the same.
Chef’s note: Grilling is an active technique, not a passive one. The best grill cooks are the ones who pay attention.
Step 6: Let It Sear
Let the food cook without moving it for 2–4 minutes per side (depending on thickness).
How long?
Steak (1 inch): 2–3 minutes per side on hot side
Steak (1.5 inches): 3–4 minutes per side on hot side
Chicken breast: 4–5 minutes per side on hot side
Burgers: 3–4 minutes per side on hot side
Fish fillets: 3–4 minutes per side, skin side down first
Vegetables: 3–4 minutes per side
Chef’s note: The food will release from the grates on its own when it’s ready to flip. If it sticks, it’s not ready.
Step 7: Rotate 90° for Crosshatch Marks (Optional)
If you want professional-looking grill marks, rotate the food 90° halfway through the sear on each side.
This is purely aesthetic — it doesn’t change the flavor. But it’s what restaurant grilling looks like.
Step 8: Flip Once and Move to Indirect Heat
Flip the food once. Move it to the cool side of the grill. Close the lid.
This is the finishing step. The indirect heat cooks the interior gently while the seared crust stays intact.
Chef’s note: For thick cuts (like a 1.5-inch ribeye), this is essential. For thin cuts (like a skirt steak or thin chicken cutlets), you can skip the indirect step and finish on the hot side.
Step 9: Check Doneness
Use an instant-read thermometer to check the internal temperature:
Steak (rare): 125°F
Steak (medium-rare): 130–135°F
Steak (medium): 140°F
Chicken breast: 165°F
Pork chop: 145°F
Salmon: 125°F
Chef’s note: Pull the food off the grill 5°F below your target temperature. Carryover cooking will bring it up to the right temp while it rests.
Step 10: Rest and Serve
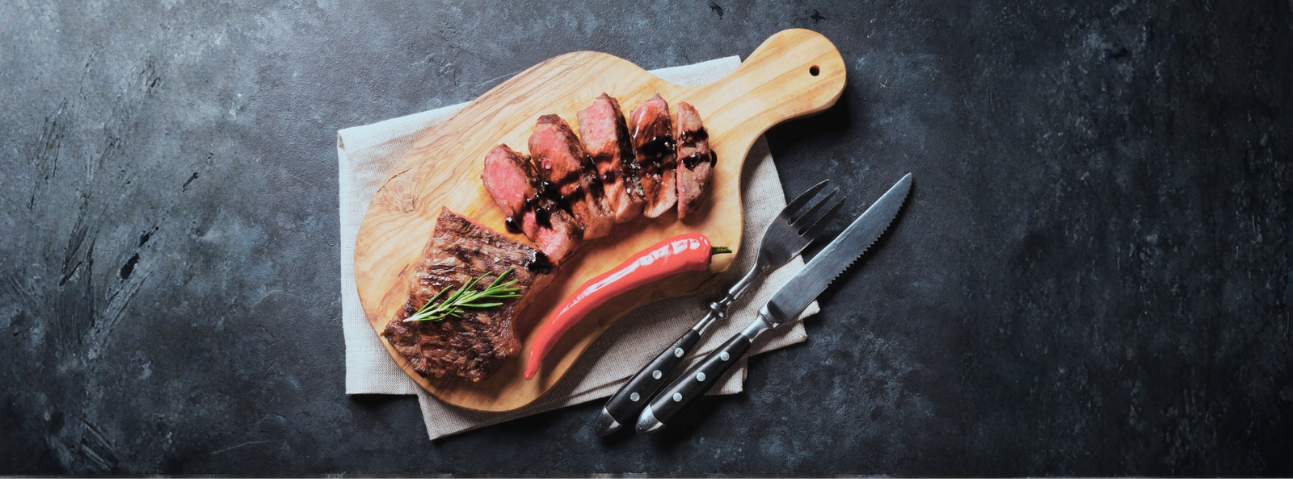
Transfer the food to a cutting board or platter. Let it rest:
Steaks and chops: 5–10 minutes
Chicken breasts: 5 minutes
Fish fillets: 2–3 minutes
Slice against the grain. Serve.
Chef’s note: Resting is not optional. Cutting into a steak immediately after grilling loses all the juices onto the board.
The Mistakes I've Seen Most
1. Leaving the grill unattended.
The most common mistake. Grilling is active, not passive. Stay with the grill.
2. Not using two zones.
Everything on high heat = burnt outside, raw inside. Set up hot and cool zones.
3. Not cleaning and oiling the grates.
Food sticks, tears, and looks terrible. Clean and oil the grates before cooking.
4. Flipping too often.
Every flip interrupts crust formation. Flip once.
5. Pressing the food down with a spatula.
This squeezes out juices and causes flare-ups. Leave it alone.
6. Using too low heat.
A lukewarm grill doesn’t sear. The grate should be hot enough that you can only hold your hand over it for 2 seconds.
7. Overcrowding the grill.
Too much food at once drops the temperature and steams the food.
8. Not resting the meat.
Resting is essential. Juices need time to redistribute.
9. Saucing too early.
Sugar-based sauces (BBQ sauce, teriyaki) burn quickly. Add them in the last 2 minutes.
10. Not prepping the food properly.
Wet food steams. Cold food cooks unevenly. Season, dry, and bring to room temp.
Temperature and Timing Guide
| Food | Hot Side Time | Indirect Time | Internal Temp | Rest Time |
| Steak (1 inch) | 2–3 min per side | 2–4 min | 130°F (med-rare) | 5 min |
| Steak (1.5 inch) | 3–4 min per side | 4–6 min | 130°F (med-rare) | 8 min |
| Chicken breast | 4–5 min per side | 6–8 min | 165°F | 5 min |
| Chicken thighs | 5–6 min per side | 8–10 min | 175°F | 5 min |
| Pork chop | 4–5 min per side | 4–6 min | 145°F | 5 min |
| Burger (1/2 lb) | 3–4 min per side | 2–3 min | 130–135°F | 3 min |
| Salmon fillet | 3–4 min per side | 2–3 min | 125°F | 2 min |
| Shrimp | 1.5–2 min per side | None | 120°F | None |
| Corn on the cob | 6–8 min, turning | None | N/A | None |
| Asparagus | 3–4 min per side | None | N/A | None |
| Bell peppers | 4–5 min per side | None | N/A | None |
| Peaches (halved) | 3–4 min per side | None | N/A | None |
Troubleshooting (What to Do When It Goes Wrong)
Problem: The food is burning on the outside but raw inside.
Cause: Grill is too hot, or you’re using only the hot zone.
Fix: Move the food to the cool side and close the lid to finish cooking.
Problem: The food is sticking to the grates.
Cause: Grates weren’t cleaned and oiled, or food was wet.
Fix: Clean and oil the grates. Dry the food thoroughly.
Problem: Flare-ups are burning the food.
Cause: Fat dripping onto hot coals.
Fix: Move the food to the cool side until the flare-up dies down. Keep a spray bottle of water nearby.
Problem: The food has no char marks.
Cause: Grill wasn’t hot enough, or food was moved too soon.
Fix: Let the grill heat properly and leave the food still until it releases.
Problem: The chicken is dry.
Cause: Cooked too long, or moved to indirect heat too late.
Fix: Use a thermometer. Pull at 165°F — no more.
Problem: The steak is grey, not browned.
Cause: Grill wasn’t hot enough, or food was wet.
Fix: Hotter fire, drier food.
Problem: The food tastes like lighter fluid.
Cause: Charcoal wasn’t fully lit before cooking.
Fix: Wait until the coals are grey with ash (15–20 minutes) before adding food.
What to Serve With Grilled Dishes
Grilled proteins pair well with:
Grilled vegetables — corn, asparagus, bell peppers, zucchini
Potato salad — classic American pairing
Grilled fruit — peaches, pineapple, watermelon
Green salad — for freshness
Crusty bread — for sopping up juices
Chimichurri, salsa verde, or BBQ sauce — as condiments
Frequently Asked Questions
1. Is charcoal better than gas for grilling?
Yes. Charcoal produces higher heat and real smoke flavor. Gas is convenient but produces less flavor.
2. How do I know when the coals are ready?
When they’re covered in grey ash (about 15–20 minutes after lighting). The coals should glow orange underneath.
3. What's the two-zone setup and why does it matter?
Coals piled on one side (hot zone) and the other side empty (cool zone). This lets you sear over high heat and finish over low heat.
4. Should I grill with the lid open or closed?
Open for searing, closed for finishing on indirect heat. Closed traps heat and smoke.
5. How do I prevent flare-ups?
Trim excess fat, move food to the cool side if flames appear, and keep a spray bottle of water nearby.
6. Do I need to oil the grates?
Yes. Clean and oil the grates before cooking. This prevents sticking.
7. Should I season the meat before or after grilling?
Before. Salt and pepper the food at least 30 minutes before grilling (for steaks) or right before (for chicken and fish).
8. How long should I rest grilled meat?
5–10 minutes for steaks and chops. 5 minutes for chicken. 2–3 minutes for fish.
9. Can I grill frozen meat?
No. Thaw completely and bring to room temperature before grilling.
10. Can I grill vegetables?
Yes. Corn, asparagus, bell peppers, zucchini, eggplant, onions, and mushrooms all grill well. Oil them lightly and season.
11. What's the best way to clean a grill?
Heat the grill, then brush the grates with a wire brush. Oil the grates after cleaning. Deep clean once a month.
12. Can I use wood chips with charcoal?
Yes. Soak wood chips in water for 30 minutes, drain, and add them to the coals for extra smoke flavor.
Final Thoughts
Grilling is simple — but simple doesn’t mean easy. The rules are:
Set up two zones
Use charcoal (if you can)
Clean and oil the grates
Stay with the grill — don’t walk away
Sear on the hot side, finish on the cool side
Flip once
Rest the meat
Serve immediately
Do those things, and grilling becomes one of the most rewarding techniques in your kitchen.
In professional kitchens, grilling was always a hands-on station — because good grilling requires attention, not just heat. The best grill cooks are the ones who stay, watch, and adjust.
Grilling isn’t cooking. It’s a conversation between fire, food, and the cook who pays attention.
Disclaimer
This article is based on personal experience working in professional kitchens. Cooking techniques and results may vary based on your equipment, ingredients, and skill level. Photos are for illustrative purposes.