Simmering: The Gentle Technique That Transforms Everything It Touches
A simmer is not a lazy boil. It’s a controlled, patient technique that builds flavor, tenderizes tough cuts, and creates the broths and sauces professional kitchens rely on. Here’s how to do it right.
The Simmer Cheat Sheet
| What | Details |
|---|---|
| What it is | Cooking food in liquid at a gentle, controlled temperature |
| Temperature | 185–205°F (85–96°C) — small bubbles rising slowly |
| Best pots | Heavy-bottomed pot with tight lid |
| Best for | Stocks, soups, stews, braises, sauces, risotto, poaching |
| Liquid amount | Just covers ingredients, or less for reduction |
| Lid on/off | On to retain liquid, off to reduce and concentrate |
| Stirring | Occasional — not constant |
| Time | 20 minutes (rice) to 8 hours (stocks) |
| Signs it's right | Small bubbles rise slowly — no rolling boil |
| What to avoid | Boiling (toughens meat, clouds stock) |
| Best flavor move | Simmer longer, not hotter |
What Simmering Actually Does
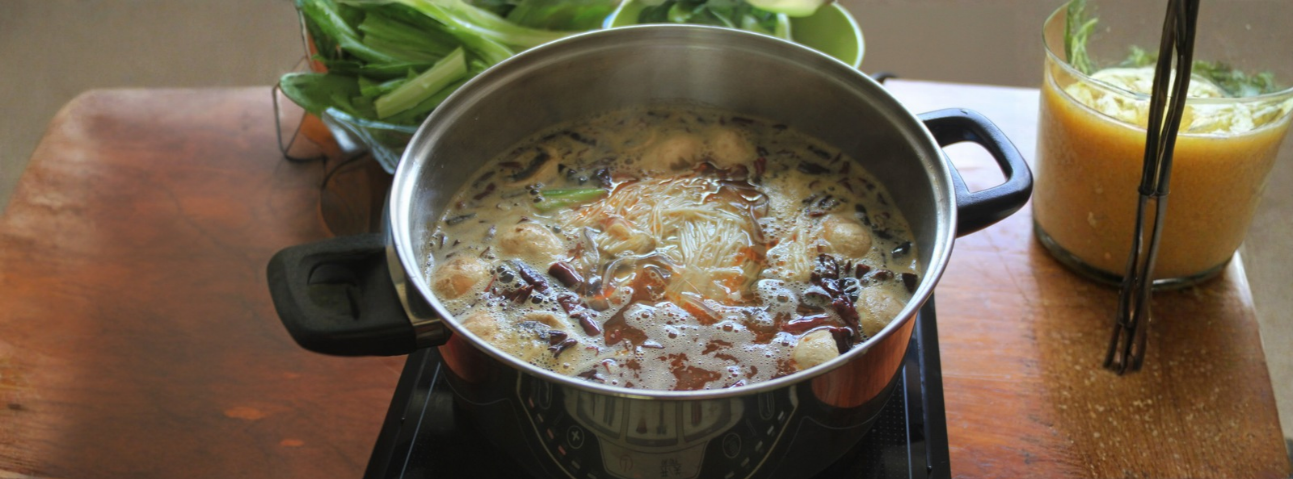
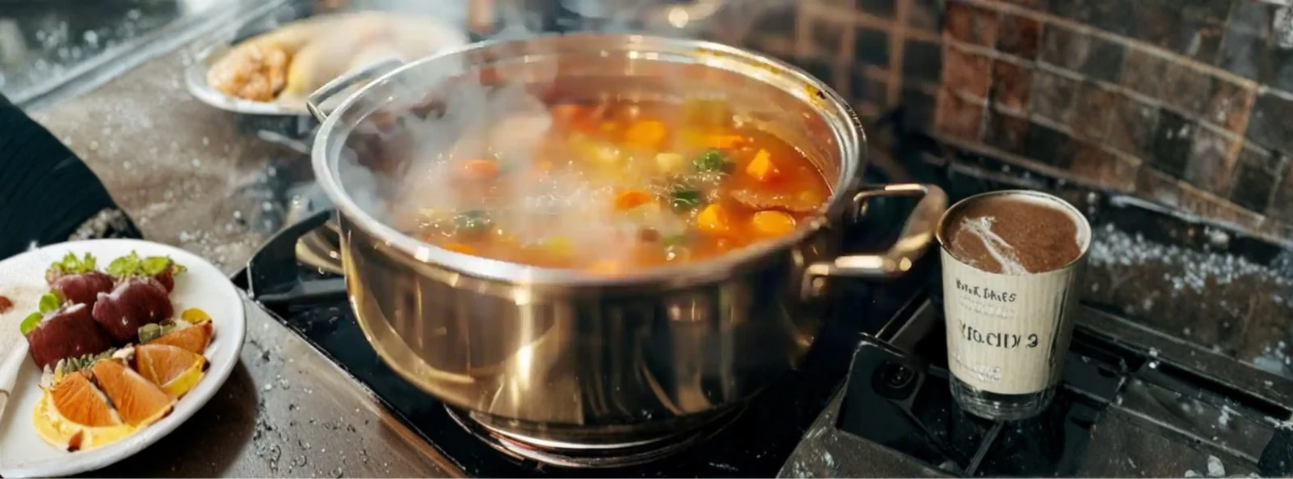
Simmering is the process of cooking food submerged in liquid at a temperature just below boiling, with small bubbles rising gently to the surface.
Three things happen during a proper simmer:
1. Flavors infuse.
Ingredients release their flavors into the liquid gradually. Aromatics (onions, garlic, herbs), proteins (bones, meat), and vegetables all contribute to the liquid, which then flavors the dish as it cooks. The longer the simmer, the more complex the flavor.
2. Tough cuts tenderize.
Collagen in tough cuts (chuck, shank, short rib) slowly converts to gelatin at simmering temperatures. This takes hours — and can’t be rushed. A boil will overcook the exterior before the interior has time to tenderize. A simmer works evenly from the outside in.
3. Liquid reduces and concentrates.
As the liquid simmers — especially with the lid off — water evaporates and the remaining liquid becomes more concentrated. This is how sauces thicken and flavors deepen.
What simmering is NOT:
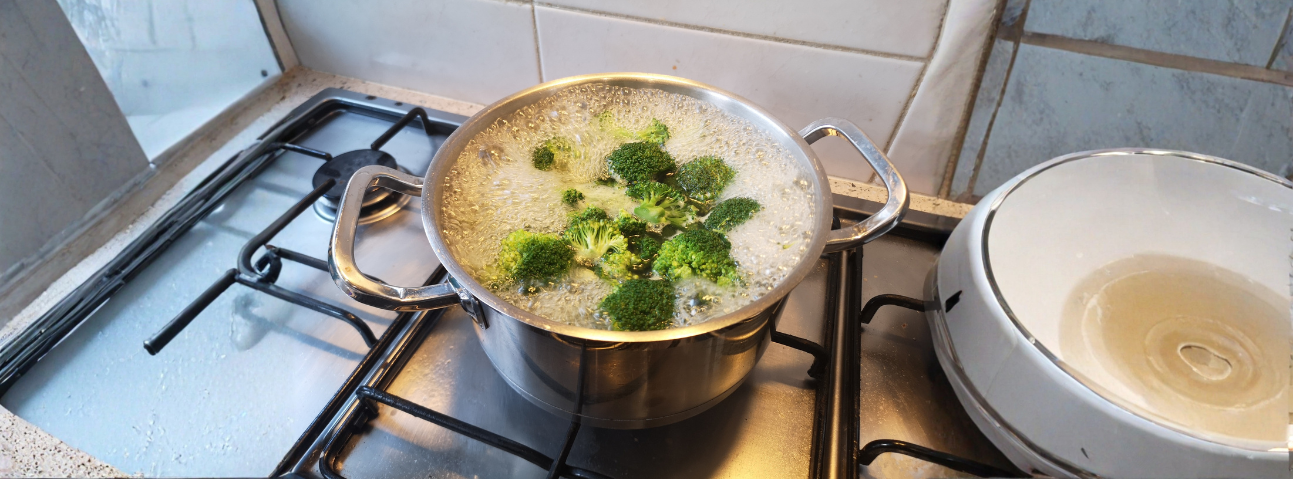
Simmering isn’t boiling. Boiling is a rolling, vigorous bubbling at 212°F (100°C). Boiling toughens meat, clouds stock, and destroys delicate ingredients. Simmering is gentler — small bubbles, controlled temperature.
Simmering also isn’t poaching. Poaching uses an even lower temperature (160–180°F) for delicate proteins like fish and eggs. Simmering is warmer and more versatile.
The Wok Station vs. the Home Kitchen (Professional vs. Home Cook)
| Step | Home Cook | Professional |
|---|---|---|
| Heat level | Low — but inconsistent | Controlled, verified with thermometer |
| Liquid | Pours in by eye | Measured — just covers |
| Pot | Whatever's available | Heavy-bottomed, tight lid |
| Lid | Usually on the whole time | On or off depending on the goal |
| Stirring | Stirs too often | Stirs occasionally |
| Checking | Lifts lid constantly | Leaves it alone |
| Seasoning | Salts at the start | Salts at the end |
| Time | Cooks "until done" | Follows timings — then tests |
| Reduction | Skips it | Reduces the liquid into sauce |
How I Simmer: 10 Steps, Start to Finish
Step 1: Choose the Right Pot
A heavy-bottomed pot with a tight-fitting lid is essential. Thin pots create hot spots that cause uneven simmering. Cast iron, enameled cast iron (Dutch oven), or heavy stainless steel all work well.
Chef’s note: The heavier the pot, the more even the heat. In professional kitchens, we used heavy stockpots for stocks and Dutch ovens for braises.
Step 2: Prep Ingredients Properly
Cut ingredients into uniform pieces so they cook evenly. Aromatics should be chopped — not minced so fine they dissolve, not so large they don’t release flavor.
Chef’s note: For stocks, don’t peel onions — the skin adds color. For stews, cut meat into uniform chunks (1–2 inches) so they cook at the same rate.
Step 3: Start with the Right Liquid
Use the right liquid for the dish:
- Stock for soups, stews, risotto
- Wine for reductions, braises, poaching
- Water for simple simmering
- Milk or cream for sauces and custards
Chef’s note: Always start with cold liquid, not hot. Cold liquid draws out flavors slowly and produces cleaner results.
Step 4: Bring to a Simmer Slowly
Place the pot over medium heat and bring the liquid to a simmer slowly — usually 5–10 minutes.
Chef’s note: Rushing this step shocks the ingredients and can cause them to release impurities too quickly. Slow is better.
Step 5: Reduce Heat and Maintain the Simmer
Once the liquid is simmering (small bubbles rising steadily), reduce the heat to maintain that temperature. Never let it boil.
Chef’s note: If the simmer turns into a boil, you’ve ruined the texture. Turn off the heat for a minute to let it settle, then lower the flame.
Step 6: Lid On or Off — Depends on the Goal
- Lid on: Retains liquid, concentrates flavors, good for stocks and stews
- Lid off: Allows evaporation, reduces and thickens, good for sauces and reductions
Chef’s note: Most braises and stews simmer with the lid on for most of the cooking time, then the lid comes off at the end to reduce the sauce.
Step 7: Skim as Needed
For stocks and broths, skim the foam and impurities that rise to the surface during the first hour.
Chef’s note: Skimming produces a clearer, cleaner-tasting result. For rustic stews, skimming is optional.
Step 8: Stir Occasionally
Stir every 20–30 minutes to prevent sticking and distribute flavors. Not constantly — that’s the beauty of simmering.
Chef’s note: If you have to stir constantly, the heat is too high. Reduce it.
Step 9: Taste and Adjust Near the End
Taste the dish every 30 minutes during the last hour. Adjust salt, acid, and seasonings.
Chef’s note: Salt at the end, not the beginning. Simmering concentrates liquid — if you salt at the start, you’ll end up with a dish that’s too salty.
Step 10: Serve or Reduce
Serve the dish as is, or remove the lid and reduce the liquid further to create a sauce.
Chef’s note: For braises, remove the meat and reduce the liquid on its own. This is where the depth of flavor comes from.
The Simmering Mistakes I’ve Watched Home Cooks Make
1. Letting it boil. Simmering is not boiling. If bubbles are rolling, reduce the heat.
2. Using the wrong pot. Thin pots create hot spots. Use heavy-bottomed cookware.
3. Stirring too often. Simmering is patient. Stir occasionally, not constantly.
4. Lifting the lid constantly. Every peek releases heat and slows cooking. Leave it alone.
5. Adding too much liquid. Simmering should reduce flavor — not dilute it. Just enough liquid, not too much.
6. Not skimming (for stocks). Skim for a cleaner, clearer result.
7. Salting at the start. Salt concentrates as liquid reduces. Salt at the end.
8. Rushing it. Simmering takes time. Add 30 minutes rather than increase the heat.
9. Using the wrong liquid. Water is fine for some things, but stock adds depth.
10. Not tasting as you go. Simmering transforms flavor. Taste every 30 minutes in the last hour
Simmering Temperatures and Times
| Dish | Temperature | Time | Lid | Notes |
|---|---|---|---|---|
| Chicken stock | 185–195°F | 3–4 hrs | On | Skim first hour |
| Beef stock | 185–195°F | 6–8 hrs | On | Skim first hour |
| Vegetable stock | 185–195°F | 45–60 min | On | No skimming needed |
| Tomato sauce | 190–200°F | 30–60 min | Off (mostly) | Stir occasionally |
| Bolognese | 185–195°F | 2–4 hrs | On | Lid off last 30 min |
| Beef stew | 190–200°F | 2–3 hrs | On | Lid off last 20 min |
| Risotto | 190–200°F | 20–30 min | Off | Stir constantly |
| Rice (white) | 195–205°F | 15–20 min | On | Don't lift lid |
| Poached fish | 165–180°F | 8–12 min | Off | Barely bubbling |
| Poached eggs | 180–190°F | 3–4 min | Off | Vinegar in water |
| Braised short ribs | 190–200°F | 3–4 hrs | On | Lid off last 30 min |
When Simmering Goes Wrong
Problem: The liquid is boiling, not simmering.
Cause: Heat is too high.
Fix: Reduce heat immediately. Wait 2–3 minutes for the temperature to drop. If the liquid has been boiling hard for a while, the texture may be damaged — taste and adjust as needed.
Problem: The dish tastes bland.
Cause: Not enough time, or too much liquid.
Fix: Simmer longer with the lid off to concentrate flavors. Add aromatics or seasoning.
Problem: The meat is tough.
Cause: Not enough time, or boiled instead of simmered.
Fix: Keep simmering — sometimes 30–60 minutes more. Never increase the heat.
Problem: The liquid evaporated too fast.
Cause: Lid not tight, or heat too high.
Fix: Add more liquid, cover tightly, reduce heat.
Problem: The sauce is too thin.
Cause: Not reduced enough.
Fix: Remove the lid and simmer longer, or thicken with a slurry (cornstarch + cold water).
Problem: The dish is too salty.
Cause: Salted too early — salt concentrated as liquid reduced.
Fix: Add water or unsalted stock to dilute, then adjust.
Problem: The ingredients stuck to the bottom.
Cause: Not enough liquid, or heat too high.
Fix: Add liquid, reduce heat, and stir gently to lift the stuck bits.
Problem: The dish tastes flat.
Cause: Not enough acid or salt at the end.
Fix: Add a squeeze of lemon, a splash of vinegar, or a pinch of salt. Taste and adjust.
What to Serve With Simmered Dishes
Simmering produces dishes that are already complete meals, but they pair well with:
- Breads — crusty bread for sopping up broth
- Rice — jasmine, basmati, or short-grain
- Noodles — egg noodles, rice noodles, or pasta
- Mashed potatoes — for braises and stews
- Polenta — for Italian-style braises
- Salads — for contrast with rich dishes
- Wine — red for braises, white for poached fish and lighter dishes
Simmering related Questions Answered below
1. What’s the difference between simmering and boiling?
Simmering is 185–205°F with small bubbles. Boiling is 212°F with rolling bubbles. Simmering preserves texture and flavor; boiling destroys them.
2. What’s the difference between simmering and poaching?
Poaching is 160–180°F — lower than simmering — and used for delicate proteins like fish and eggs. Simmering is warmer and more versatile.
3. How do I know it’s simmering and not boiling?
Small bubbles rise slowly to the surface. Steam is gentle. If bubbles are rolling vigorously, you’re boiling.
4. Should I use the lid or leave it off?
Lid on to retain liquid and concentrate flavors (stocks, stews). Lid off to reduce and thicken (sauces, reductions).
5. How often should I stir?
Every 20–30 minutes. Simmering doesn’t require constant attention.
6. Why is my simmered dish bland?
Not enough time or too much liquid. Simmer longer with the lid off to concentrate flavors.
7. Can I simmer in a slow cooker?
Yes. Slow cookers maintain the perfect simmer temperature for 8–12 hours.
8. Can I simmer in a pressure cooker?
Yes. Pressure cooking achieves similar results in much less time. The texture is slightly different.
9. How long can I simmer a stock?
Chicken: 3–4 hours. Beef: 6–8 hours. Fish: 30–45 minutes. Vegetable: 45–60 minutes.
10. Do I need to skim the surface?
For stocks and clear broths, yes — skim the foam in the first hour. For stews, optional.
11. Should I salt at the start or the end?
The end. Salt concentrates as liquid reduces.
12. Can I simmer frozen food?
Yes, but add extra time. Frozen food lowers the liquid temperature and takes longer to reach a simmer.
13. Can I reuse simmering liquid?
Yes, for stocks — a second simmer extracts more flavor, but the result is weaker. Use it for soups rather than sauces.
14. How do I know when a simmered dish is done?
Taste and texture. Meat should be fork-tender. Vegetables should be soft but not mushy. Sauce should taste rich and balanced.
15. What if I need to leave the kitchen?
Turn off the heat. Simmering can pause and resume without ruining the dish.
Simmering is 185–205°F with small bubbles. Boiling is 212°F with rolling bubbles. Simmering preserves texture and flavor; boiling destroys them.
Poaching is 160–180°F — lower than simmering — and used for delicate proteins like fish and eggs. Simmering is warmer and more versatile.
Small bubbles rise slowly to the surface. Steam is gentle. If bubbles are rolling vigorously, you’re boiling.
Lid on to retain liquid and concentrate flavors (stocks, stews). Lid off to reduce and thicken (sauces, reductions).
Every 20–30 minutes. Simmering doesn’t require constant attention.
Not enough time or too much liquid. Simmer longer with the lid off to concentrate flavors.
Yes. Slow cookers maintain the perfect simmer temperature for 8–12 hours.
Yes. Pressure cooking achieves similar results in much less time. The texture is slightly different.
Chicken: 3–4 hours. Beef: 6–8 hours. Fish: 30–45 minutes. Vegetable: 45–60 minutes.
For stocks and clear broths, yes — skim the foam in the first hour. For stews, optional.
The end. Salt concentrates as liquid reduces.
Yes, but add extra time. Frozen food lowers the liquid temperature and takes longer to reach a simmer.
Yes, for stocks — a second simmer extracts more flavor, but the result is weaker. Use it for soups rather than sauces.
Taste and texture. Meat should be fork-tender. Vegetables should be soft but not mushy. Sauce should taste rich and balanced.
Turn off the heat. Simmering can pause and resume without ruining the dish.
Final Thoughts
Simmering is the patient technique. It doesn’t produce dramatic results in minutes. It takes hours — sometimes all day.
But it’s the technique that turns cheap cuts into special meals. Raw bones into rich stock. Simple ingredients into complex, layered dishes.
The rules are simple:
- Keep it below a boil
- Use a heavy pot with a tight lid
- Stir occasionally, not constantly
- Skim if making stock
- Salt at the end, not the start
- Let time do the work
Do those things, and simmering becomes the quiet workhorse of your kitchen.
In professional kitchens, simmering was the technique that ran in the background of every service. It wasn’t fast. It wasn’t fancy. But it was the base everything else was built on.
Simmering isn’t cooking. It’s patience, temperature, and time — quietly transforming everything it touches.
Disclaimer
This article is based on personal experience working in professional kitchens. Cooking techniques and results may vary based on your equipment, ingredients, and skill level. Photos are for illustrative purposes.