Sous Vide: A Chef’s Guide to Precision Cooking Without the Guesswork
Sous vide isn’t a gimmick. It’s the most reliable way to cook protein to the exact temperature you want, every single time. Here’s how professional kitchens use it — and how you can use it at home.
Most home cooks hear “sous vide” and picture expensive restaurant equipment, molecular gastronomy, and chefs with blowtorches. They think it’s complicated.
It’s not.
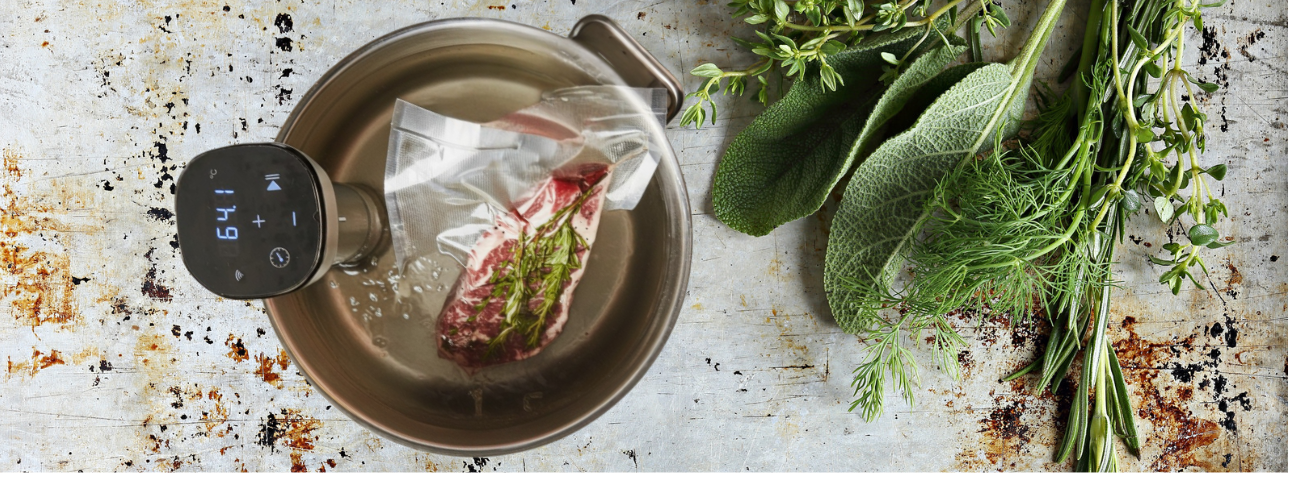
Sous vide is French for “under vacuum.” The technique is simple: you seal food in a bag, put it in a water bath held at a precise temperature, and let it cook. The water never gets hotter than the temperature you set. That means the food can never overcook.
The technique was pioneered by French chefs in the 1970s, who experimented with vacuum-sealed bags and precisely controlled water baths. What started in professional kitchens has now become accessible to home cooks — thanks to affordable immersion circulators and simple zip-lock bag methods.
I’ve spent years working in professional kitchens, and sous vide was one of the most valuable tools we had. Not for the fancy stuff — for the consistency. When you’re cooking fifty steaks a night, you can’t afford to miss. Sous vide meant every steak came out exactly medium-rare, every time, without a line cook standing over a grill pan.
This guide explains how sous vide actually works, how professional kitchens use it, and how to use it at home without overcomplicating it.
Table of Contents
ToggleQuick Reference (Chef's Cheat Sheet)
| What | Details |
|---|---|
| What it is | Cooking food sealed in a bag in a precisely heated water bath |
| Origin | Developed by French chefs in the 1970s |
| Best for | Steak, chicken, pork, fish, eggs, vegetables |
| Cuts to avoid | None — but tough cuts need longer time |
| Equipment | Immersion circulator, vacuum sealer (or zip-lock bags) |
| Temperature range | 120–185°F (49–85°C) depending on protein |
| Time range | 30 minutes (fish) to 48 hours (tough cuts) |
| Bagging | Vacuum seal or water displacement method with zip-lock |
| Finishing | Always sear after sous vide for texture and flavor |
| Safety | Pasteurization depends on time + temperature combination |
| Best practice | Ice bath after cooking if not serving immediately |
What Sous Vide Actually Does
Sous vide is the process of cooking food in a sealed bag in a water bath held at a precise, consistent temperature.
Three things happen during sous vide cooking:
1. Precise temperature control.
The water bath holds the exact temperature you set — say, 130°F for medium-rare steak. The food cooks until it reaches that temperature and then stops. It can’t overcook, because the water never gets hotter than the target.
2. Even cooking from edge to edge.
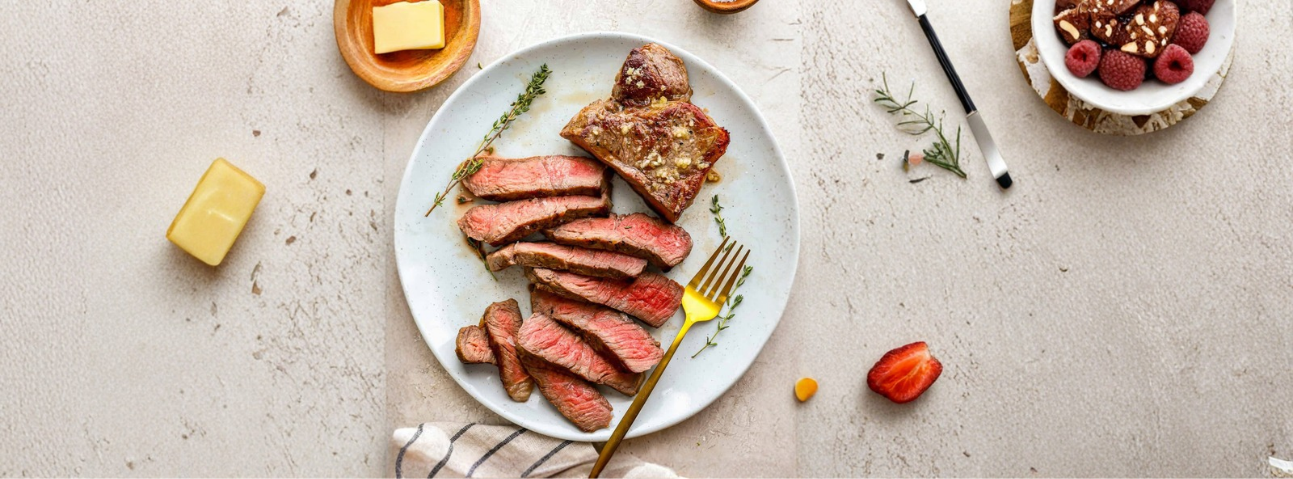
Traditional cooking applies heat from one side (a pan, a grill, an oven). This creates a temperature gradient — burnt outside, raw inside, or a “grey ring” of overcooked meat. Sous vide heats from all sides evenly, so the food cooks uniformly. A sous vide steak is pink from edge to edge.
3. Moisture retention.
Because the food is sealed in a bag, moisture can’t escape as steam. The food cooks in its own juices, which keeps it tender and flavorful.
What sous vide does NOT do:
Sous vide doesn’t create a crust. A sous vide steak comes out looking grey and unappetizing. You must sear it after cooking. Sous vide and searing are partners, not alternatives.
The Professional Way vs. The Home Cook Way
| Step | Home Cook | Professional |
|---|---|---|
| Equipment | Basic sous vide machine | Immersion circulator + vacuum sealer |
| Temperature | Guessed or copied from a blog | Verified with a calibrated thermometer |
| Time | Follows a recipe blindly | Adjusts based on thickness and cut |
| Finishing | Sometimes skipped | Always seared — this is non-negotiable |
| Safety | Not considered | Pasteurization tables used for time + temp |
| Batch cooking | Cooks one steak | Cooks 50 steaks at exactly the same temp |
Step-by-Step (From My Experience)
Step 1: Choose Your Protein and Temperature
Different proteins need different temperatures. This is the most important decision in sous vide.
Chef’s note: Don’t guess. Look up the temperature for the exact doneness you want. A degree or two makes a difference.
Step 2: Season the Food
Season generously with salt and pepper before sealing. You can also add herbs, garlic, or butter to the bag.
Chef’s note: Don’t add too much butter. It can dilute the flavor of the meat. A small knob is enough.
Step 3: Seal the Bag
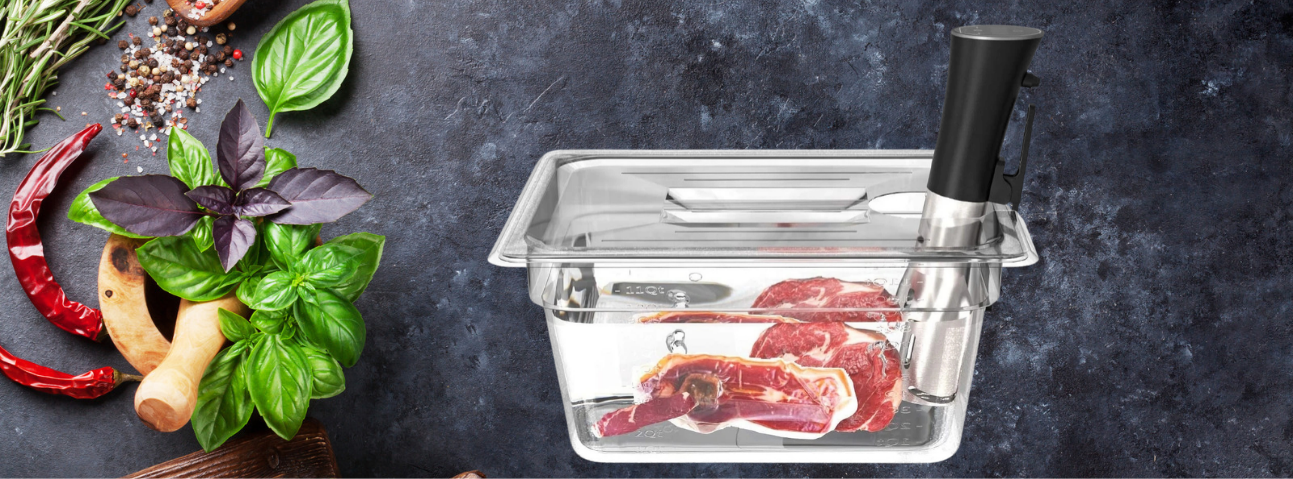
Use a vacuum sealer, or use the water displacement method: put the food in a zip-lock bag, lower it into water (not past the seal), and let the water pressure push the air out. Seal the bag.
Chef’s note: Make sure the bag is fully sealed. Any water that gets in will dilute the flavor and ruin the texture.
Step 4: Set Up the Water Bath
Fill a pot or container with water. Clip your immersion circulator to the side and set the temperature. Wait for the water to reach the target temperature.
Chef’s note: Use a container that’s big enough for the food to be fully submerged but not so big that it takes forever to heat.
Step 5: Cook
Submerge the bag. The cooking time depends on the protein and thickness. Fish might take 30 minutes. A steak might take 1–2 hours. A tough cut might take 24–48 hours.
Chef’s note: Unlike traditional cooking, sous vide is forgiving on time. A steak cooked for 2 hours will be nearly as good as one cooked for 1.5 hours. But don’t go too long — texture can suffer.
Step 6: Ice Bath (If Not Serving Immediately)
If you’re not eating right away, transfer the bag to an ice bath. This stops the cooking process and lets you refrigerate the food safely.
Chef’s note: This is standard practice in professional kitchens. It lets you cook ahead and sear to order.
Step 7: Dry and Sear
Remove the food from the bag. Pat it completely dry with paper towels. This is critical — any surface moisture will steam instead of sear.
Heat a cast iron pan until it’s screaming hot. Add a high-smoke-point oil. Sear the food for 30–60 seconds per side, just until a crust forms.
Chef’s note: This is the step most home cooks get wrong. A wet steak won’t sear. Dry it thoroughly.
Step 8: Rest and Serve
Let the meat rest for a few minutes. Slice against the grain and serve.
Chef’s note: Sous vide meat doesn’t need to rest as long as traditionally cooked meat, because the juices are already evenly distributed. A few minutes is enough.
The Mistakes I've Seen Most
1. Skipping the sear. A sous vide steak without a sear looks grey and tastes flat. Always sear.
2. Wet surface before searing. If the meat is wet, it steams. Pat it dry — every time.
3. Using too much butter or oil in the bag. This dilutes the meat’s natural flavor.
4. Guessing the temperature. Use a reliable source. A degree or two changes the doneness.
5. Not using an ice bath for make-ahead cooking. If you cook sous vide and leave the bag on the counter, bacteria can grow. Ice bath, then refrigerate.
6. Cooking too long at too high a temperature. Sous vide is precise, but it’s not magic. Tough cuts need low temps for long times. Tender cuts need low temps for short times.
7. Not drying the bag before opening. Water from the bath can drip into the bag and dilute the juices.
Temperature and Timing Guide
| Protein | Doneness | Temp | Time | Notes |
|---|---|---|---|---|
| Beef Steak | Rare | 125°F | 1–2 hrs | Sear after |
| Beef Steak | Medium-Rare | 130°F | 1–2 hrs | Sear after |
| Beef Steak | Medium | 140°F | 1–2 hrs | Sear after |
| Chicken Breast | Juicy | 145–150°F | 1–2 hrs | Sear after |
| Chicken Thigh | Tender | 165°F | 2–4 hrs | Sear after |
| Pork Chop | Juicy | 140°F | 1–2 hrs | Sear after |
| Pork Belly | Tender | 155°F | 12–24 hrs | Sear after |
| Salmon | Medium | 125°F | 30–45 min | Sear skin-side down |
| Shrimp | Tender | 130°F | 15–20 min | Sear briefly |
| Eggs | Soft | 145°F | 45 min | No sear |
| Short Rib | Tender | 140°F | 24–48 hrs | Sear after |
| Vegetables | Tender | 185°F | 1–2 hrs | Sear if desired |
Troubleshooting (What to Do When It Goes Wrong)
Problem: The steak looks grey and unappetizing.
Cause: You skipped the sear.
Fix: Sear in a screaming-hot pan for 30–60 seconds per side.
Problem: The steak isn’t searing.
Cause: The surface is wet.
Fix: Pat it completely dry with paper towels.
Problem: The meat is tough.
Cause: Wrong time and temperature for the cut.
Fix: Tender cuts need short times. Tough cuts need long times at low temps.
Problem: The bag floated.
Cause: Air inside the bag.
Fix: Use a vacuum sealer, or the water displacement method. Weigh the bag down with a spoon if needed.
Problem: The food tastes bland.
Cause: Not enough seasoning in the bag.
Fix: Season generously before sealing. You can also add herbs, garlic, or a small amount of butter.
Problem: The bag leaked.
Cause: Bad seal.
Fix: Double-seal the bag, or use a zip-lock and ensure the seal is tight.
What to Serve With Sous Vide
Sous vide works with almost any protein. Pair with:
Steak — seared, sliced, with a pan sauce
Chicken breast — seared, sliced, over salad or pasta
Pork chop — seared, with apple or mustard sauce
Salmon — seared skin-side down, with lemon and herbs
Short rib — seared, shredded, over polenta or mashed potatoes
Vegetables that work well sous vide:
Carrots (with butter and honey)
Asparagus (with lemon and olive oil)
Potatoes (with butter and herbs)
Beets (with balsamic)
Frequently Asked Questions
1. Do I need a vacuum sealer for sous vide?
No. You can use the water displacement method with zip-lock bags.
2. Do I need an expensive sous vide machine?
No. An immersion circulator is the only essential piece of equipment.
3. Can I cook sous vide without a bag?
No. The bag keeps the food separate from the water.
4. Do I have to sear after sous vide?
Yes, for meat. Sous vide doesn’t create a crust. Searing is essential for texture and flavor.
5. Can I sous vide frozen food?
Yes. Add 30 minutes to the cooking time.
6. How long can I leave food in the water bath?
It depends on the protein. Tender cuts: 1–4 hours. Tough cuts: 12–48 hours. Don’t exceed recommended times.
7. Is sous vide safe?
Yes, if you follow time and temperature guidelines. Pasteurization depends on the combination of time and temperature.
8. Can I cook vegetables sous vide?
Yes. Vegetables need higher temperatures (185°F) and longer times (1–2 hours).
9. What's the best container for sous vide?
A large pot or a dedicated sous vide container. It needs to be deep enough to fully submerge the food.
10. Can I make sous vide eggs?
Yes. Eggs cooked at 145°F for 45 minutes have a custard-like yolk.
11. Do I need to rest sous vide meat?
A short rest (2–5 minutes) is enough. The juices are already evenly distributed.
12. Can I sous vide in a cooler?
Yes. A well-insulated cooler can hold temperature for shorter cooks. For longer cooks, an immersion circulator is safer.
Final Thoughts
Sous vide isn’t a gimmick. It’s a tool — one of the most reliable tools in professional kitchens.
It takes the guesswork out of cooking protein. It makes consistency possible. It lets you cook a perfect medium-rare steak every single time, without standing over a pan.
But it’s not magic. You still need to sear. You still need to season. You still need to understand your protein.
Sous vide is precision. Searing is flavor. Together, they’re the closest you can get to restaurant-quality meat at home.
Disclaimer
This article is based on personal experience working in professional kitchens. Cooking techniques and results may vary based on your equipment, ingredients, and skill level. Photos are for illustrative purposes.