Table of Contents
ToggleSearing Technique: A Chef's Guide to Getting It Right Every Time
Searing is not a step. It’s the difference between a steak that tastes like a steak and one that tastes like it was boiled. Here’s what professional kitchens know that home cooks don’t.
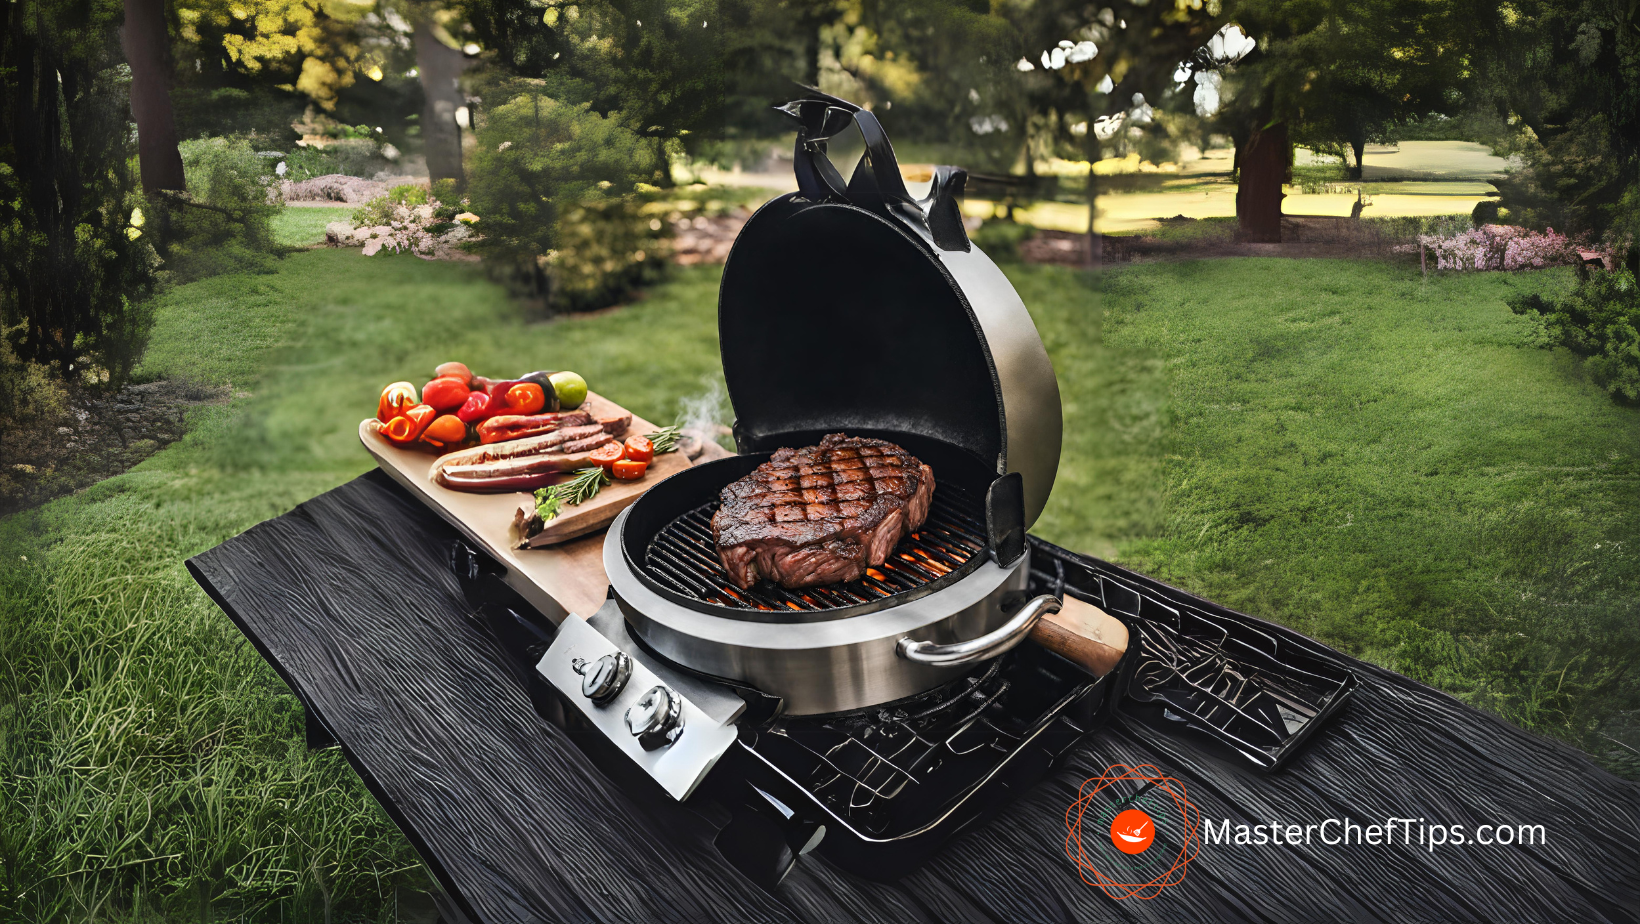
Most home cooks treat searing as a step they have to “get through” before the real cooking starts. They turn the heat to high, throw the meat in the pan, and wait until it looks “brown enough” before moving on to the actual method — roasting, braising, or finishing in the oven.
That’s backwards.
Searing isn’t a preliminary step. Searing is one of the most important things you will ever do to a piece of meat. It’s what creates the crust, the depth, and the flavor that separates a good dish from a great one.
I’ve spent years working in professional kitchens. Searing was always there — sometimes on its own, sometimes as the first stage of roasting or braising. And in every kitchen, the same rule applied: you don’t rush the sear.
This guide explains why searing matters, how professional kitchens do it, and the mistakes I’ve seen home cooks make over and over.
Quick Reference (Chef's Cheat Sheet)
| What | Details |
|---|---|
| Best pans | Cast iron, carbon steel, heavy stainless steel |
| Pan temperature | 400–450°F (204–232°C) — oil should shimmer, not smoke heavily |
| Best oils | High smoke point: grapeseed, avocado, canola, clarified butter |
| Oils to avoid | Extra virgin olive oil (burns at high heat), butter alone (burns quickly) |
| Meat temperature | Room temperature — never sear cold meat |
| Meat surface | Completely dry — pat dry with paper towels |
| Time per side | 1–3 minutes depending on thickness |
| Signs of a good sear | Dark brown crust, no grey ring, meat releases from pan easily |
| When to flip | When the meat releases on its own — don't force it |
| After searing | Rest the meat before serving |
What Searing Actually Does
Searing is the process of cooking the surface of meat (or fish, or vegetables) at high heat until it develops a brown crust.
Two things happen during a proper sear:
1. The Maillard reaction. This is a chemical reaction between amino acids and reducing sugars that occurs when food is heated above roughly 300°F (150°C). It’s what creates the brown crust, the deep flavor, and the aroma of properly seared meat. The Maillard reaction doesn’t just make food taste better — it makes food taste like itself. Without it, meat tastes flat.
2. Surface moisture evaporates. Meat contains water. When you put meat in a hot pan, that water starts to evaporate before browning can begin. A proper sear happens after the surface moisture is gone — not during. This is why “waiting for the pan to be hot enough” matters.
What searing does NOT do:
It doesn’t “seal in juices.” That’s a myth. A properly seared steak and a steamed steak will lose roughly the same amount of moisture during cooking. What searing does is create flavor and texture on the surface — the interior juiciness comes from how you cook and rest the meat, not the sear.
The Professional Way vs. The Home Cook Way
Here’s what I’ve seen in professional kitchens — and what I’ve seen home cooks do instead.
| Step | Home Cook | Professional |
|---|---|---|
| Prep | Take meat out of fridge, season, cook | Take meat out 30+ min early, pat completely dry, season |
| Pan | Any pan, medium-high heat | Cast iron or carbon steel, preheated until oil shimmers |
| Oil | Butter or olive oil | High-smoke-point oil (grapeseed, avocado, canola) |
| Meat placement | Drop in and wait | Place carefully, don't move it |
| Flipping | Flip every minute or two | Flip once — when the meat releases on its own |
| Patience | Rush the sear, move to next step | Let the crust form fully before moving on |
Step-by-Step (From My Experience)
Step 1: Take the Meat Out Early
30 minutes before cooking, take the meat out of the refrigerator. A cold steak drops the pan temperature when it hits, which means the surface cooks too slowly and the interior cooks unevenly.
Chef’s note: In professional kitchens, meat comes out of the walk-in well before service starts. In a home kitchen, aim for at least 30 minutes. If you have time, 45 minutes is better.
Step 2: Pat the Meat Completely Dry
This is the step home cooks skip most often. Use paper towels to dry every surface of the meat.
Why this matters: Water has to evaporate before browning can begin. Any surface moisture turns into steam, and steam doesn’t create a crust — it creates grey, boiled meat.
Chef’s note: In a pro kitchen, we’d sometimes leave meat uncovered in the fridge for hours to dry the surface. At home, patting with paper towels is enough.
Step 3: Season Right Before Searing
Salt and pepper the meat right before it hits the pan. Not an hour before (unless you’re dry-brining). Not after.
Chef’s note: Salt pulls moisture to the surface. If you salt too early, that moisture sits on the surface and works against your sear.
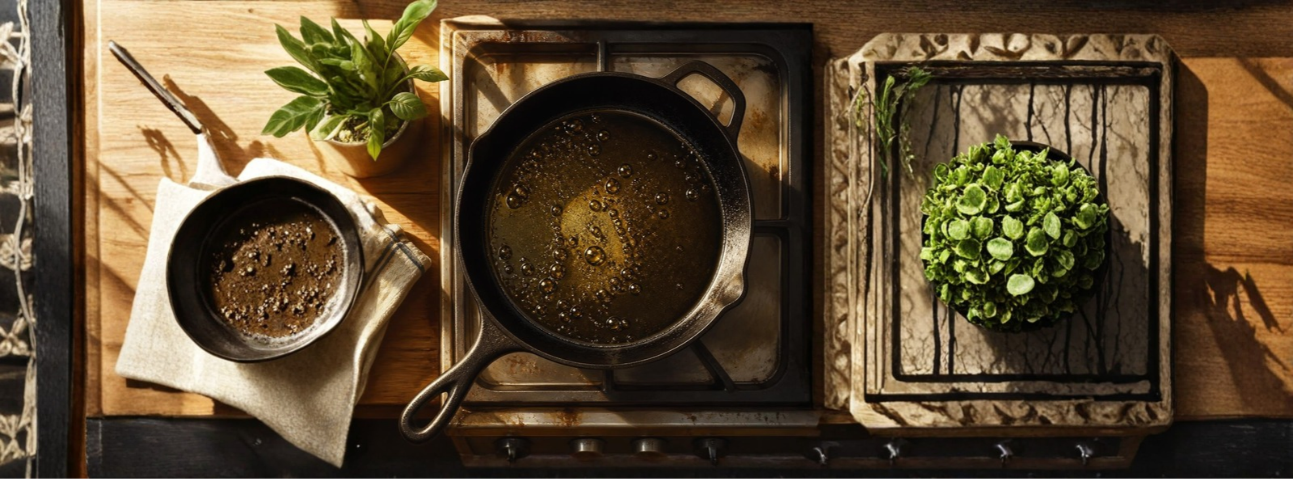
Step 4: Preheat the Pan Properly
Place your pan over medium-high heat and let it heat up for 2–3 minutes before adding oil.
How to test: Drop a small amount of oil in the pan. If it shimmers and moves around the pan easily, it’s ready. If it smokes heavily, the pan is too hot — reduce the heat and let it cool slightly.
Chef’s note: A common mistake is adding oil to a cold pan, then heating both together. This works for some cooking, but for searing you want the pan hot before the oil goes in.
Step 5: Add Oil, Then Meat
Add a high-smoke-point oil — grapeseed, avocado, or canola are all good. Wait a few seconds for the oil to heat through, then place the meat carefully in the pan.
Chef’s note: If you want butter flavor, add butter at the end of the sear, not the beginning. Butter burns at high heat.
Step 6: Don’t Move It
Once the meat is in the pan, leave it alone. Don’t press it down. Don’t poke it. Don’t flip it. Let the crust form.
How long? Depends on thickness:
Thin cutlets: 1–2 minutes per side
Standard steaks (1 inch): 2–3 minutes per side
Thick steaks (1.5–2 inches): 3–4 minutes per side
How to know it’s ready to flip: The meat will release from the pan on its own. If you try to flip it and it sticks, it’s not ready. Wait 30 more seconds.
Step 7: Flip Once, Sear the Other Side
Flip the meat one time. Sear the second side for the same amount of time.
Chef’s note: Don’t flip back and forth. One flip, one sear per side. That’s enough.
Step 8: Rest Before Serving
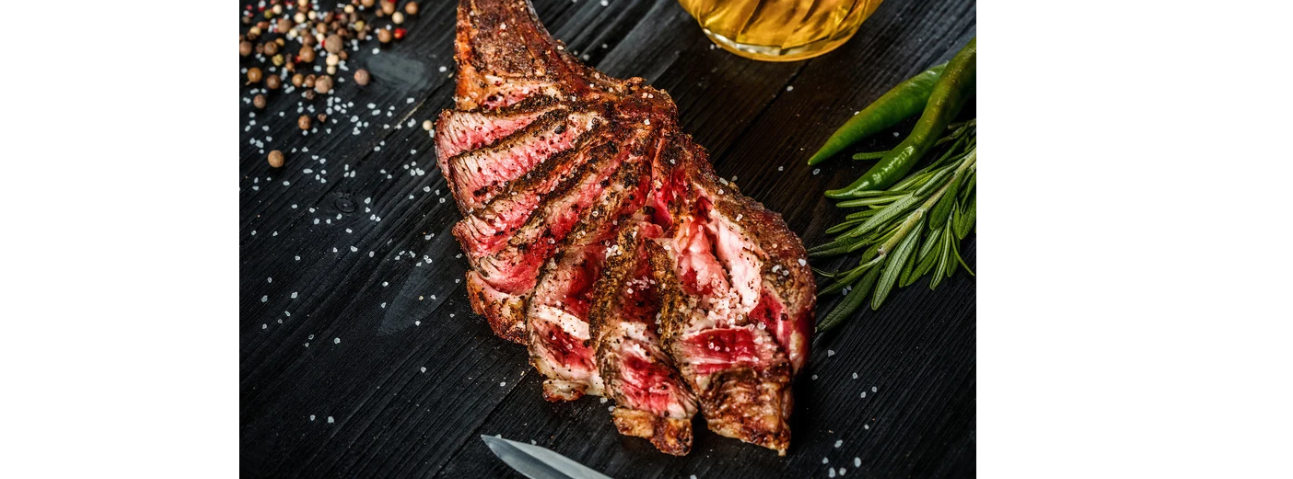
After searing, rest the meat on a cutting board for 5–10 minutes (depending on thickness). This lets the juices redistribute inside the meat.
Chef’s note: Resting is as important as searing. Cut into a steak immediately after cooking and the juices run out onto the board. Rest first, then slice.
The Mistakes I've Seen Most
These are the mistakes I saw most often — both in professional kitchens (from new cooks) and in home kitchens (from friends and family who ask me for cooking advice).
1. Searing cold meat
Cold meat drops the pan temperature and steams instead of searing. Let it come to room temperature first.
2. Wet surface
Water on the meat means steam, not crust. Pat it dry — always.
3. Pan not hot enough
A lukewarm pan doesn’t create a Maillard reaction. Heat the pan until the oil shimmers.
4. Overcrowding the pan
Too much meat at once drops the temperature and creates steam. Sear in batches if needed.
5. Moving the meat around
Flipping every 30 seconds prevents the crust from forming. Leave it alone.
6. Using the wrong oil
Butter and extra virgin olive oil burn at high heat. Use grapeseed, avocado, or canola.
7. Skipping the rest
Resting is not optional. It’s the final step of the sear.
Temperature and Timing Guide
| Meat | Pan Heat | Time per Side | Internal Temp (Medium-Rare) | Rest Time |
|---|---|---|---|---|
| Beef steak (1 inch) | Medium-high | 2–3 min | 130–135°F (54–57°C) | 5 min |
| Beef steak (1.5 inch) | Medium-high | 3–4 min | 130–135°F (54–57°C) | 8 min |
| Pork chop | Medium-high | 3–4 min | 145°F (63°C) | 5 min |
| Chicken breast | Medium-high | 4–5 min | 165°F (74°C) | 5 min |
| Salmon fillet | Medium-high | 3–4 min (skin side first) | 125°F (52°C) | 2 min |
| Scallops | High | 1–2 min | 115°F (46°C) | 1 min |
| Duck breast | Medium | 6–8 min (skin side) | 135°F (57°C) | 8 min |
Troubleshooting (What to Do When It Goes Wrong)
Problem: Meat sticks to the pan
Cause: Pan not hot enough, or you tried to flip too early.
Fix: Wait 30 seconds more. The meat will release on its own when it’s ready.
Problem: Meat is grey, not brown
Cause: Pan wasn’t hot enough, or the surface was wet.
Fix: Next time, dry the meat and preheat the pan longer.
Problem: Meat smokes heavily
Cause: Oil is burning.
Fix: Reduce heat slightly, or switch to a higher-smoke-point oil.
Problem: Crust is burnt but interior is raw
Cause: Pan was too hot, or the meat was too thick.
Fix: Lower the heat, sear more gently, then finish in the oven.
Problem: No crust forms at all
Cause: Too much moisture, or not enough heat.
Fix: Pat the meat dry, increase the heat, and don’t crowd the pan.
What to Serve With It
Searing works with almost any protein, but it pairs especially well with:
Steak — seared then finished with butter and herbs
Pork chops — seared then finished in the oven
Chicken breast — seared for color, then finished in the oven
Salmon — seared skin-side down for crispy skin
Scallops — seared quickly for a golden crust
Duck breast — seared skin-side down for crispy skin
A good sear also works with vegetables: seared mushrooms, seared Brussels sprouts, seared asparagus.
Frequently Asked Questions
1. Do I need a cast iron pan for searing?
No. Cast iron is excellent, but carbon steel and heavy stainless steel also work well. The key is a heavy pan that holds heat.
2. Can I sear with butter?
Butter burns at high heat. If you want butter flavor, sear with oil first, then add butter at the end and spoon it over the meat.
3. How do I know when the pan is hot enough?
The oil should simmer slightly and move easily around the pan. If it’s smoking heavily, it’s too hot.
4. Should I salt the meat before or after searing?
Right before. Salt pulls moisture to the surface, which works against the sear if done too early.
5. Can I sear frozen meat?
No. Frozen meat will steam and won’t form a crust. Thaw completely, then pat dry.
6. Why does my steak have a grey ring under the crust?
The pan wasn’t hot enough, so the meat cooked slowly near the surface before the crust formed. Hotter pan, faster sear, no grey ring.
7. Do I need to rest the meat after searing?
Yes. Resting allows the juices to redistribute inside the meat. Skip it and the juices run out when you cut.
8. Should I sear meat before braising?
Yes. Searing before braising adds depth and flavor that braising alone won’t create.
9. Should I sear meat before roasting?
Yes. Searing creates the crust; roasting cooks the interior. Both matter.
10. What's the best oil for searing?
Grapeseed, avocado, or canola. They have high smoke points and neutral flavors.
Final Thoughts
Searing is not a step you rush. It’s the step that determines what your dish will taste like.
In professional kitchens, searing is treated with respect — because it’s where flavor begins. Home cooks often treat it as something to get through before the “real” cooking starts. That’s backwards.
Take the time. Dry the meat. Heat the pan properly. Don’t move it. Flip once. Rest it.
Do those things and your meat will taste different — better — than it ever has before.
Searing isn’t cooking. Searing is the moment where cooking actually begins.
Disclaimer
This article is based on personal experience working in professional kitchens. Cooking techniques and results may vary based on your equipment, ingredients, and skill level. Photos are for illustrative purposes.
For more technique please see our page Recipes
By Mastercheftips Editor