Sautéing: A Chef’s Guide to Getting It Right Every Time
Sautéing is fast, hot, and active — and most home cooks confuse it with pan-frying. Here’s how professional kitchens actually sauté.
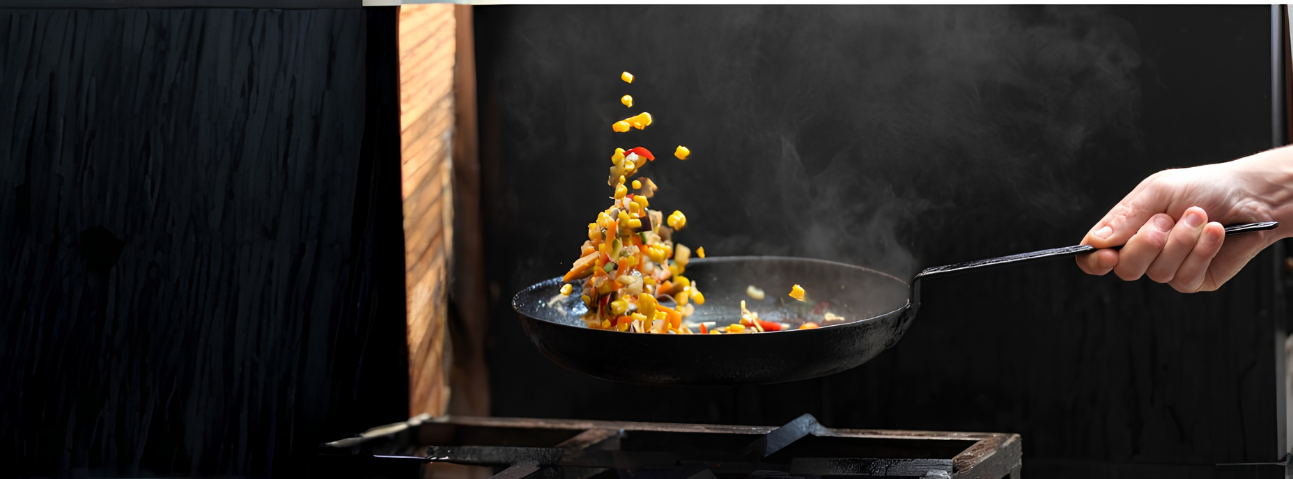
Sautéing is one of the most-used techniques in any professional kitchen. It’s how vegetables get cooked to order. It’s how aromatics start a sauce. It’s how proteins get a quick sear before finishing in the oven.
But here’s the problem: most home cooks confuse sautéing with pan-frying.
They’re not the same.
Pan-frying uses a moderate amount of oil, moderate heat, and the food stays still so it forms a crust. Sautéing uses a small amount of oil, high heat, and the food moves constantly so it cooks quickly and evenly.
I’ve spent years working in professional kitchens, and sautéing was part of the daily rhythm. We sautéed mushrooms, onions, garlic, spinach, shrimp, scallops, chicken cutlets. It’s the technique that made the line move during service — fast, controlled, and always in motion.
This guide explains how sautéing actually works, how professional kitchens do it, and the mistakes I’ve seen home cooks make over and over.
Table of Contents
ToggleQuick Reference (Chef's Cheat Sheet)
| What | Details |
|---|---|
| What it is | Cooking food quickly in a small amount of oil over high heat, with constant movement |
| Best pans | Sauté pan (straight sides), skillet, carbon steel, stainless steel |
| Oil amount | 1–2 tablespoons — just enough to coat the pan |
| Pan temperature | Medium-high to high — the food should sizzle immediately |
| Best fats | Clarified butter, grapeseed, avocado, canola, olive (not extra virgin) |
| Food prep | Cut into uniform pieces, dried, seasoned |
| Batch size | Small — never crowd the pan |
| Time | 2–5 minutes total — sautéing is fast |
| Signs of good sauté | Food is golden, not steamed; sizzle is constant |
| When to add aromatics | After the main ingredient, near the end |
| After cooking | Deglaze the pan for a quick sauce |
What Sautéing Actually Does
Sautéing is the process of cooking food quickly in a small amount of fat over high heat, with the food kept in motion.
Three things happen during a proper sauté:
1. High heat sears the surface.
When food hits a hot pan, the surface temperature rises above 300°F (150°C), triggering the Maillard reaction. This creates browning, flavor, and texture — the same reaction that happens in searing.
2. Constant movement cooks evenly.
Unlike pan-frying, where the food sits still to form a crust, sautéing moves the food constantly. This prevents any one side from burning and cooks the food evenly on all sides.
3. Moisture evaporates quickly.
Because the pan is hot and the food is moving, surface moisture evaporates fast. This is why sautéing works best for foods with high water content (vegetables, mushrooms) or thin cuts of protein.
What sautéing is NOT:
Sautéing isn’t pan-frying. Pan-frying uses more oil, moderate heat, and the food stays still to form a crust. Sautéing uses less oil, higher heat, and the food moves constantly.
Sautéing also isn’t stir-frying. Stir-frying uses a wok, very high heat, and even faster movement. Sautéing is gentler — still fast, but less aggressive.
The Professional Way vs. The Home Cook Way
| Step | Home Cook | Professional |
|---|---|---|
| Pan | Whatever's clean | Sauté pan, preheated properly |
| Fat | Poured by eye | Measured — 1–2 tablespoons |
| Pan temperature | Guessed | Tested — food sizzles immediately |
| Food prep | Roughly chopped | Cut into uniform pieces |
| Batch size | Fills the pan | Cooks in small batches |
| Movement | Stirs occasionally | Keeps food in constant motion |
| Aromatics | Added at the start | Added near the end |
| Deglazing | Skipped | Always — to build a quick sauce |
| Cleanup | Pan is a mess | Pan is deglazed and nearly clean |
Step-by-Step (From My Experience)
Step 1: Prep Everything First
Sautéing is fast. Once the pan is hot, you won’t have time to chop onions or measure spices.
Do all prep before you turn on the heat:
Cut the food into uniform pieces
Dry the food with paper towels
Measure your seasonings
Have your aromatics ready
Have your deglazing liquid ready
Chef’s note: This is mise en place — everything in its place. In professional kitchens, we prepped everything before service.
Step 2: Choose the Right Pan
A sauté pan is different from a skillet. A sauté pan has straight, taller sides, which keeps food contained when you toss it. A skillet has sloped sides, which are better for pan-frying.
Best options:
Carbon steel sauté pan — the professional’s choice
Stainless steel sauté pan — good heat distribution
Cast iron skillet — works, but heavy
Chef’s note: The pan should be large enough to hold the food in a single layer with room to move.
Step 3: Preheat the Pan
Place the pan over medium-high heat and let it heat for 2–3 minutes.
How to test: Sprinkle a few drops of water into the pan. If they sizzle and evaporate immediately, the pan is ready.
Chef’s note: The pan should be hot enough that food sizzles the moment it hits the surface.
Step 4: Add the Fat
Add 1–2 tablespoons of oil or clarified butter. Swirl it around the pan to coat the bottom.
Best fats for sautéing:
Clarified butter (best flavor, high smoke point)
Grapeseed oil
Avocado oil
Canola oil
Regular olive oil (not extra virgin — it burns)
Chef’s note: Don’t use regular butter — it burns at sautéing temperatures. Clarified butter (ghee) works because the milk solids have been removed.
Step 5: Add the Main Ingredient
Add the main ingredient in a single layer. Don’t crowd the pan.
Chef’s note: If you add too much at once, the pan temperature drops, the food steams instead of sautéing, and you end up with soggy vegetables instead of golden ones.
Step 6: Keep It Moving
Once the food is in the pan, keep it moving. Toss the pan, stir with a spoon, or use tongs to turn the food.
Chef’s note: In professional kitchens, we tossed the pan constantly. The food never sits still.
Step 7: Watch for Doneness
Sautéing is fast — usually 2–5 minutes total. Watch for:
Vegetables: Bright color, tender-crisp texture, slight browning
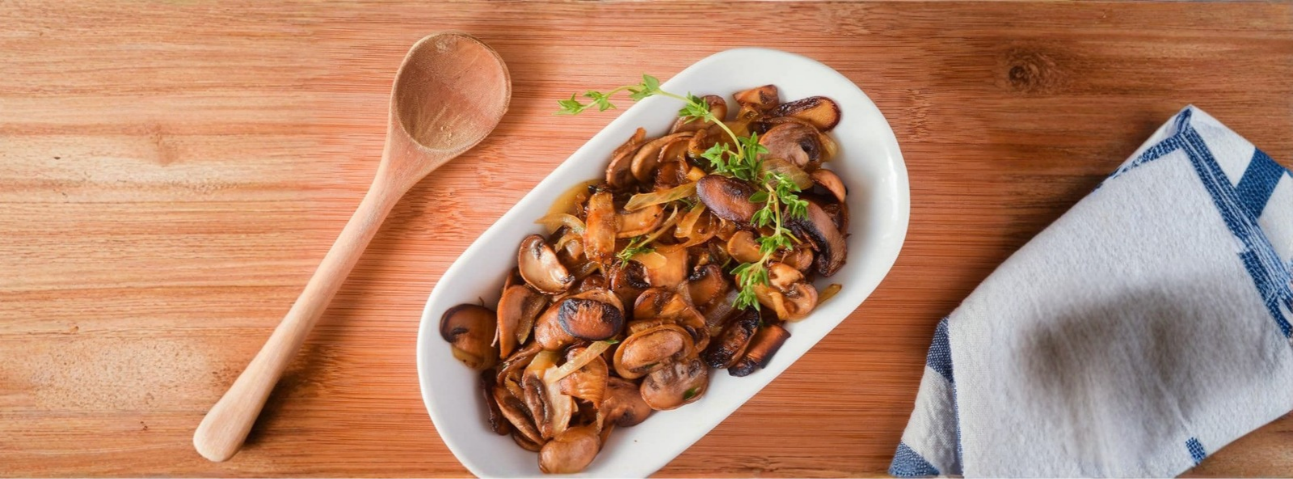
Mushrooms: Golden brown, moisture released, edges crispy
Shrimp: Pink and curled, opaque
Scallops: Golden brown on each side, opaque
Chicken cutlets: Golden brown, cooked through
Chef’s note: Sautéing is not a “set and forget” technique. You need to watch the food the entire time.
Step 8: Add Aromatics Near the End
If you’re using garlic, ginger, shallots, or herbs — add them in the last 30–60 seconds.
Chef’s note: Aromatics burn quickly. Add them at the end so they cook just enough to release their flavor.
Step 9: Deglaze the Pan
After the food is cooked, remove it from the pan. Pour a small amount of liquid into the hot pan — wine, stock, or citrus juice. Scrape up the browned bits with a wooden spoon.
Chef’s note: The brown bits (called “fond”) are pure flavor. Deglazing turns them into a quick pan sauce. See our guide to deglazing for more detail.
Step 10: Serve Immediately
Sautéed food is best served hot and fresh. Plate it immediately.
Chef’s note: In a restaurant, sautéed food goes straight from the pan to the plate.
The Mistakes I've Seen Most
1. Crowding the pan. Too much food at once drops the pan temperature and steams the food.
2. Not preheating the pan. A lukewarm pan doesn’t sauté — it steams.
3. Using the wrong fat. Regular butter and extra virgin olive oil burn at sautéing temperatures.
4. Not prepping ahead. Sautéing is fast. Prep everything before you start.
5. Not moving the food. Sautéing requires constant movement.
6. Adding aromatics too early. Garlic and shallots burn in seconds.
7. Wet food. Any surface moisture steams instead of sautéing.
8. Uneven pieces. Different-sized pieces cook at different rates.
9. Skipping the deglaze. The brown bits in the pan are flavor.
10. Not tasting as you go. Salt at the end, not the beginning.
Temperature and Timing Guide
| Food | Pan Heat | Fat | Time | Notes |
|---|---|---|---|---|
| Onions (diced) | Medium-high | 1 tbsp | 5–7 min | Golden, translucent |
| Mushrooms (sliced) | High | 2 tbsp | 4–6 min | Don't crowd — golden |
| Garlic (minced) | Medium | 1 tbsp | 30–60 sec | Add at the end |
| Spinach | Medium-high | 1 tbsp | 1–2 min | Wilted, bright green |
| Bell peppers (sliced) | Medium-high | 1 tbsp | 3–5 min | Tender-crisp |
| Zucchini (diced) | Medium-high | 1 tbsp | 3–4 min | Golden edges |
| Shrimp | High | 1 tbsp | 2–3 min | Pink, curled |
| Scallops | High | 1 tbsp | 2–3 min per side | Golden crust |
| Chicken cutlets | Medium-high | 2 tbsp | 3–4 min per side | Golden brown |
| Beef strips (stir-fry) | High | 2 tbsp | 2–3 min | Sear, don't steam |
Troubleshooting (What to Do When It Goes Wrong)
Problem: The food is steaming, not sautéing.
Cause: Pan not hot enough, or too much food in the pan.
Fix: Increase heat and cook in smaller batches.
Problem: The food is burning on the outside but raw inside.
Cause: Pan too hot, or pieces too thick.
Fix: Lower heat slightly and cut pieces smaller and more evenly.
Problem: The food is sticking to the pan.
Cause: Pan not hot enough, or not enough fat.
Fix: Add a little more oil and wait for the pan to come back up to temperature.
Problem: The aromatics are burning.
Cause: Added too early, or pan too hot.
Fix: Add aromatics in the last 30–60 seconds.
Problem: The vegetables are soggy.
Cause: Crowded pan, or too much moisture.
Fix: Cook in smaller batches. Dry the vegetables first.
Problem: The pan is burnt and hard to clean.
Cause: Not deglazing.
Fix: Add a splash of wine, stock, or water to the hot pan. Scrape up the browned bits.
What to Serve With Sautéed Dishes
Sautéed vegetables pair well with:
Any protein — steak, chicken, fish
Rice or grains — for a complete meal
Pasta — sautéed vegetables make a quick pasta sauce
Eggs — sautéed mushrooms and spinach are classic omelet fillings
Bread — for sopping up pan sauces
Sautéed proteins pair well with:
Mashed potatoes — classic pairing
Pan sauce — made from the deglazed pan
Salad — for contrast
Roasted vegetables — for a complete plate
Rice or grains — for a lighter option
Frequently Asked Questions
1. What's the difference between sautéing and pan-frying?
Sautéing uses less fat, higher heat, and constant movement. Pan-frying uses more fat, moderate heat, and the food stays still to form a crust.
2. What's the difference between sautéing and stir-frying?
Stir-frying uses a wok and even higher heat. Sautéing uses a sauté pan and gentler heat — still fast, but less aggressive.
3. Should I add garlic at the start or the end?
At the end — in the last 30–60 seconds. Garlic burns quickly at sautéing temperatures.
4. Can I sauté with regular butter?
No. Regular butter burns. Use clarified butter (ghee) or a high-smoke-point oil.
5. Why is my food steaming instead of sautéing?
Pan not hot enough, or too much food in the pan. Increase heat and cook in smaller batches.
6. Do I need a non-stick pan for sautéing?
No. Carbon steel or stainless steel work better — they develop fond (browned bits) that you can deglaze into a sauce.
7. How do I know when the pan is hot enough?
Sprinkle a few drops of water. If they sizzle and evaporate immediately, it’s ready.
8. Should I dry the food before sautéing?
Yes. Surface moisture steams instead of sautéing.
9. What is deglazing and why does it matter?
Adding liquid to a hot pan after cooking to loosen the browned bits. It creates a quick pan sauce and makes cleanup easier.
10. Can I sauté frozen vegetables?
Yes, but they release water and steam before they sauté. Thaw and dry them for better results.
11. How small should I cut the ingredients?
Uniform size matters more than size itself. All pieces should be roughly the same size so they cook at the same rate.
12. Should I season at the start or the end?
Salt at the end for vegetables. Salt proteins before cooking. Add pepper at the end — it burns at high heat.
Final Thoughts
Sautéing is fast, hot, and active. It’s the technique that gets vegetables on the plate in 5 minutes and proteins cooked in 10. It’s how professional kitchens keep up with service.
The rules are simple:
Prep everything first
Heat the pan properly
Use a small amount of fat
Keep the food moving
Add aromatics at the end
Deglaze the pan
Serve immediately
Do those things, and sautéing becomes one of the most useful techniques in your kitchen.
In professional kitchens, sautéing was the technique that moved the line. It wasn’t fancy — it was fast, controlled, and always in motion.
Sautéing isn’t cooking. It’s control — heat, motion, and timing working together.
Disclaimer
This article is based on personal experience working in professional kitchens. Cooking techniques and results may vary based on your equipment, ingredients, and skill level. Photos are for illustrative purposes.