Poaching: The Most Underrated Technique in the Kitchen
Poaching is gentle, precise, and deeply misunderstood. It’s the technique that produces perfect eggs, delicate fish, and tender chicken — but most home cooks avoid it because they think it’s difficult. It’s not. It’s just specific.
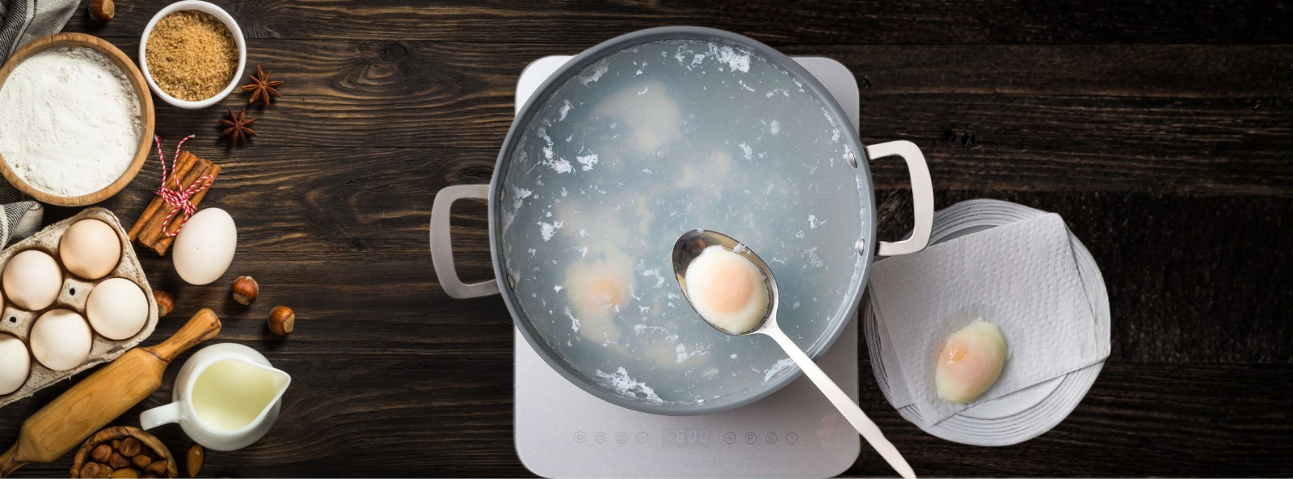
Poaching is the quietest technique in the kitchen. It doesn’t sear. It doesn’t sizzle. It doesn’t brown. It just cooks food gently in liquid until it’s tender, moist, and full of flavor.
And that’s exactly why most home cooks avoid it.
People think poaching is difficult. They’ve seen failed poached eggs turn into a mess of egg whites in the water. They’ve heard it requires precise temperatures and special equipment. So they skip it — and they miss out on the healthiest, most delicate cooking technique in the kitchen.
Poaching is actually one of the easiest techniques to master. Once you understand the rules — the right temperature, the right liquid, the right timing — poaching becomes as reliable as any other method.
The technique is centuries old. The word comes from the Old French pocher — “to bag” or “to enclose” — referring to the way food was gently cooked in a pocket of liquid. French kitchens have used poaching for hundreds of years for fish, eggs, fruit, and poultry. Japanese kitchens use yudofu (poached tofu). Every culinary tradition has its own version.
I’ve spent years working in professional kitchens, and poaching was part of the daily rhythm. We poached eggs for brunch service, fish for delicate plates, chicken for salads and appetizers. It’s the technique that produces the most refined food in the kitchen — when it’s done right.
This guide explains how poaching actually works, when to use it, and the mistakes I’ve seen home cooks make over and over.
Table of Contents
ToggleThe Poaching Cheat Sheet
| What | Details |
|---|---|
| What it is | Cooking food submerged in liquid at a low, gentle temperature |
| Temperature | 160–180°F (71–82°C) — barely bubbling |
| Best liquids | Water, stock, wine, milk, court-bouillon |
| Best foods | Eggs, fish, chicken, fruit, vegetables, tofu |
| Liquid amount | Enough to fully submerge the food |
| Acid | Vinegar for eggs, lemon for fish, wine for chicken |
| Aromatics | Herbs, bay leaf, peppercorns, citrus |
| Time | 3 minutes (eggs) to 20 minutes (chicken breast) |
| Signs it's right | Barely bubbling — water trembles but doesn't roll |
| Signs it's wrong | Rolling boil — toughens protein, clouds liquid |
| After poaching | Drain, pat dry, serve or use in another dish |
What Poaching Actually Does
Poaching is the process of cooking food fully submerged in liquid held at a low, gentle temperature — usually between 160°F and 180°F (71°C and 82°C).
Three things happen during a proper poach:
1. Food cooks gently from all sides.
Because the food is submerged, heat surrounds it completely. Unlike pan-frying or grilling (where heat comes from one direction), poaching cooks evenly from all sides. This is why delicate proteins like fish stay intact.
2. Flavors infuse.
The liquid isn’t just water — it’s a flavored cooking medium. Wine, stock, herbs, and aromatics infuse into the food as it cooks. This is how poached fish absorbs the flavor of lemon and bay leaf, or how poached pears absorb the flavor of red wine and cinnamon.
3. Moisture is preserved.
Because poaching happens at a low temperature, the food doesn’t lose moisture. This is why poached chicken breast is juicy, while grilled chicken breast can dry out. The technique itself protects against drying.
What poaching is NOT:
Poaching isn’t simmering. Simmering happens at 185–205°F with small bubbles rising steadily. Poaching is cooler — 160–180°F — with the water barely trembling.
Poaching isn’t boiling either. Boiling is 212°F with rolling bubbles. Boiling toughens protein, clouds liquid, and destroys delicate ingredients. It’s the opposite of what you want for poaching.
Poaching isn’t sous vide either, though they’re related. Sous vide cooks food in a vacuum-sealed bag at a precise temperature. Poaching cooks food directly in liquid. Sous vide is more precise; poaching is more traditional.
The Professional Way vs. The Home Cook Way
| Step | Home Cook | Professional |
|---|---|---|
| Temperature | Guessed | Verified with thermometer |
| Liquid | Water | Flavored liquid (stock, wine, court-bouillon) |
| Aromatics | Sometimes added | Always added |
| Acid | Not considered | Vinegar for eggs, lemon for fish |
| Food prep | Sometimes wet | Patted dry and seasoned |
| Batch size | Crowds the pot | Cooks in small batches |
| Timing | Judged by eye | Timed precisely |
| After poaching | Served immediately | Patted dry, sometimes chilled for later use |
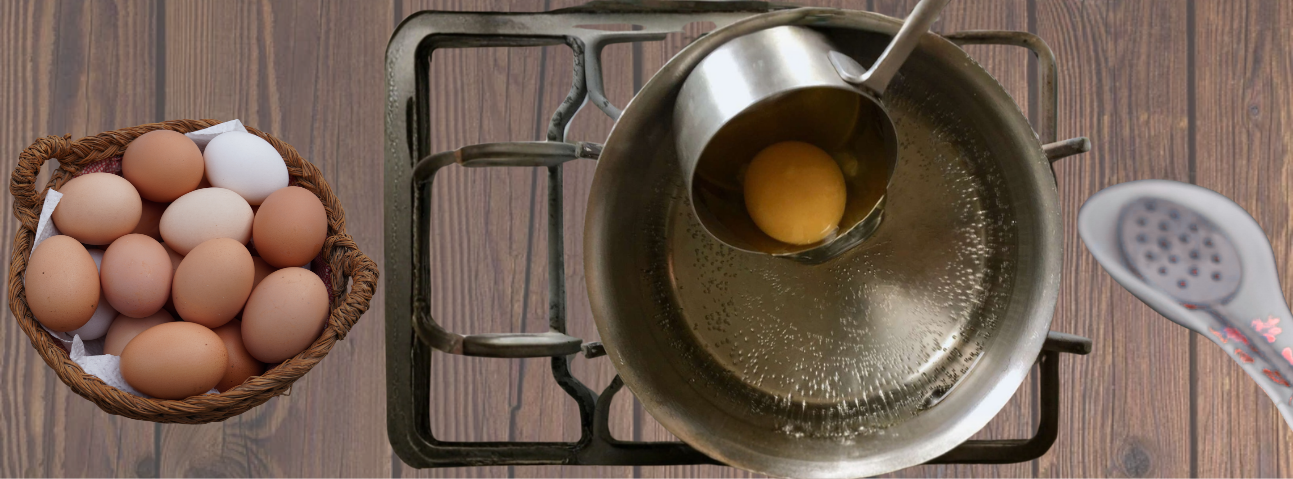
How I Poach: 10 Steps, Start to Finish
Step 1: Choose the Right Liquid
The liquid defines the flavor. Choose based on what you’re poaching:
Water — simplest, good for eggs
Stock — chicken, vegetable, or fish stock, adds depth
Wine — red or white, adds flavor and acidity
Milk — for fish (classic French technique)
Court-bouillon — flavored water with vegetables, herbs, and acid
Chef’s note: In professional kitchens, we poached fish in court-bouillon (water, wine, onions, carrots, bay leaf, peppercorns), poached eggs in water with vinegar, and poached fruit in wine with sugar and cinnamon.
Step 2: Add Aromatics and Acid
Whatever liquid you choose, add aromatics:
Bay leaf
Fresh herbs — parsley, thyme, tarragon
Peppercorns
Citrus zest or juice
Vinegar — essential for poached eggs (helps the white coagulate)
Chef’s note: The classic ratio for poaching liquid is 1 part acid (wine, vinegar, lemon juice) to 4 parts water or stock.
Step 3: Heat the Liquid to Poaching Temperature
Place the pot over medium heat and bring the liquid to 160–180°F (71–82°C).
How to check without a thermometer: Small bubbles start to form on the bottom of the pot. The surface of the water trembles slightly. Steam rises gently. There should be no rolling bubbles.
Chef’s note: If the liquid starts to boil, turn off the heat for a minute and wait. Poaching happens at a very specific temperature, and a boil ruins the texture.
Step 4: Prep the Food Properly
The food must be dry and seasoned before it goes in the liquid.
Pat the food dry with paper towels — any surface moisture dilutes the liquid
Season generously with salt and pepper
Bring to room temperature — cold food drops the liquid temperature
Chef’s note: For eggs, crack them into a small bowl first. This lets you slide them gently into the water without breaking the yolk.
Step 5: Lower the Food Gently
Lower the food into the liquid slowly and carefully. Use a slotted spoon, tongs, or your hands (very carefully).
Chef’s note: For fish, lower it skin-side down first. For eggs, create a gentle whirlpool in the water with a spoon, then slide the egg into the center — this helps the white wrap around the yolk.
Step 6: Maintain the Temperature
This is the critical step. As the food poaches, the liquid temperature will drop slightly. Adjust the heat to keep it between 160–180°F.
Chef’s note: Never let the liquid come to a boil. If bubbles start rolling, remove the pot from the heat for 30 seconds, then return it to a lower setting.
Step 7: Watch for Doneness
Timing depends on what you’re poaching. Watch for visual cues:
Eggs: Whites are set, yolk is still soft (3–4 minutes)
Fish: Flesh turns opaque and flakes easily (8–12 minutes, depending on thickness)
Chicken breast: Reaches 165°F internally (12–18 minutes)
Fruit: Soft and tender when pierced with a knife (10–20 minutes)
Chef’s note: Don’t rely on time alone. Visual cues are more accurate. For fish, the flesh should look opaque, not translucent. For chicken, cut into the thickest part to check.
Step 8: Remove Carefully
Lift the food out of the liquid with a slotted spoon or spider strainer. Let excess liquid drain.
Chef’s note: For eggs, lift them out and place them on a paper towel briefly to drain. For fish, use a wide spatula to keep the fillet intact.
Step 9: Pat Dry (Optional)
For some dishes, you’ll want to pat the food dry after poaching — especially if you’re going to sear it afterward or serve it cold.
Chef’s note: Poached chicken for salad, poached fish for cold plates, and poached eggs all benefit from a quick pat dry.
Step 10: Serve or Continue Cooking
Poached food can be:
Served immediately — with the poaching liquid as a sauce, or with a fresh sauce
Chilled and served cold — for salads, appetizers, or meal prep
Finished another way — seared, grilled, or broiled for a crispy exterior
Chef’s note: The classic restaurant technique is to poach food gently, then finish it with a quick sear for texture and color. This is how you get perfectly cooked salmon with a crispy skin — poach first, sear second.
The Poaching Mistakes I've Watched Home Cooks Make
1. Boiling instead of poaching. The #1 mistake. If the water is bubbling vigorously, it’s boiling — not poaching. Reduce the heat.
2. Using plain water. Poaching liquid should be flavored — stock, wine, herbs, aromatics.
3. Not adding acid. For eggs, vinegar is essential. For fish, lemon or wine adds brightness.
4. Cold food going into hot liquid. This drops the temperature and lengthens cooking time. Bring food to room temperature.
5. Overcrowding the pot. Too much food drops the temperature and cooks unevenly. Poach in small batches.
6. Not seasoning the food. Poaching doesn’t add salt. Season before cooking.
7. Overcooking. Poaching is gentle, but it’s still cooking. Overcooking ruins the texture.
8. Lifting the lid constantly. Every peek releases heat. Leave the pot alone.
9. Not patting dry before serving. Excess liquid dilutes sauce and softens texture.
10. Skipping the ice bath for cold dishes. If you’re serving poached food cold, plunge it into an ice bath immediately after cooking to stop the cooking process.
Poaching Temperatures and Times
| Food | Liquid | Temperature | Time | Notes |
|---|---|---|---|---|
| Eggs | Water + vinegar | 180°F | 3–4 min | Swirl water first |
| Chicken breast | Stock or court-bouillon | 165–175°F | 12–18 min | Cook to 165°F |
| Salmon fillet | Court-bouillon | 160–170°F | 8–12 min | Until opaque |
| White fish (cod, halibut) | Milk + herbs | 160–170°F | 8–12 min | Delicate |
| Shrimp | Stock or water | 170–180°F | 2–3 min | Pink and curled |
| Pears | Red wine + sugar + cinnamon | 180°F | 15–20 min | Until tender |
| Peaches | White wine + honey + vanilla | 175°F | 10–15 min | Until tender |
| Tofu | Miso broth | 170°F | 5–8 min | Soft and flavored |
| Chicken thighs | Stock | 170°F | 20–25 min | Juicier than breast |
When Poaching Goes Wrong
Problem: The eggs are watery and messy.
Cause: Water too hot (boiling), or eggs too fresh, or no vinegar.
Fix: Use very fresh eggs, add 1 tablespoon of vinegar per quart of water, and keep the temperature at 180°F — barely bubbling.
Problem: The fish is dry and flavorless.
Cause: Overcooked, or poached in plain water.
Fix: Cook until just opaque, and use a flavored liquid (court-bouillon, stock, or milk with herbs).
Problem: The chicken is tough.
Cause: Overcooked, or poached at too high a temperature.
Fix: Poach at 165–175°F (not boiling) and pull at exactly 165°F internal.
Problem: The liquid tastes bland.
Cause: Not enough aromatics or seasoning.
Fix: Add bay leaf, peppercorns, herbs, and a pinch of salt.
Problem: The food absorbed too much liquid.
Cause: Poached too long.
Fix: Remove the food as soon as it’s done. Don’t let it sit in the liquid.
Problem: The poached fruit is mushy.
Cause: Poached too long at too high a temperature.
Fix: Keep the liquid at 180°F and check the fruit every 5 minutes.
Problem: The food is stuck to the bottom of the pot.
Cause: Food was placed on direct heat without enough liquid.
Fix: Add more liquid, or poach in a larger pot so the food floats.
What to Serve With Poached Dishes
Poached food is versatile and pairs well with:
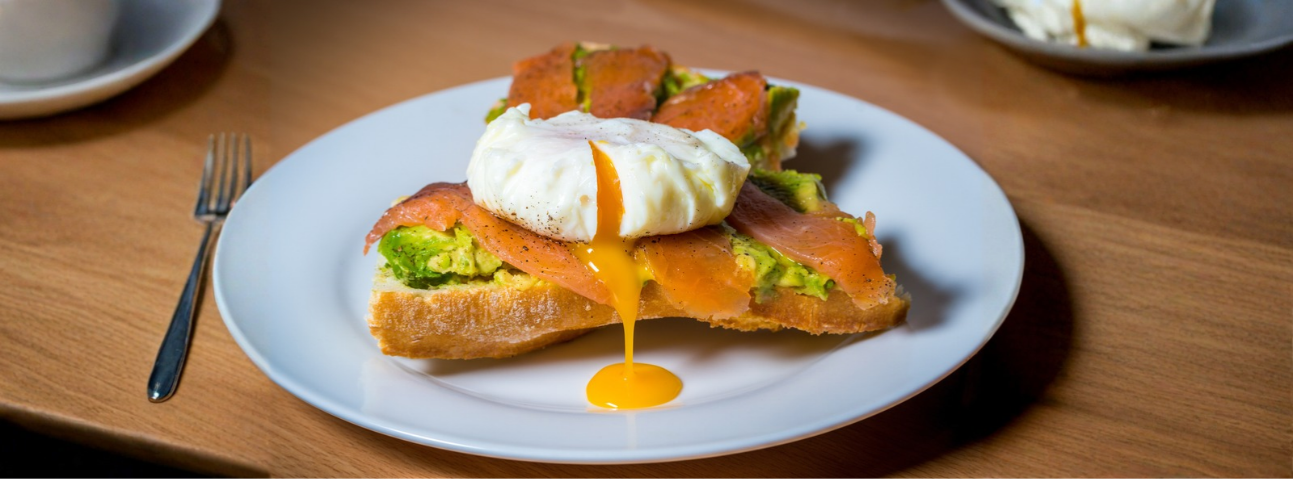
Poached eggs — toast, hollandaise, avocado, smoked salmon
Poached fish — lemon, herbs, butter sauce, fresh salad
Poached chicken — salads, sandwiches, rice bowls, soups
Poached fruit — ice cream, yogurt, whipped cream, granola
Poached vegetables — vinaigrette, dips, salads
Frequently Asked Questions about Poaching
1. What's the difference between poaching and simmering?
Poaching is 160–180°F with barely bubbling water. Simmering is 185–205°F with small bubbles rising steadily.
2. What's the difference between poaching and boiling?
Boiling is 212°F with rolling bubbles. Boiling toughens protein and clouds liquid. Poaching is much gentler.
3. What's the best liquid for poaching eggs?
Water with 1 tablespoon of vinegar per quart. The vinegar helps the egg white coagulate.
4. Can I poach without a thermometer?
Yes. Look for small bubbles forming on the bottom of the pot and a trembling surface. No rolling bubbles.
5. How do I know when fish is done poaching?
The flesh turns opaque and flakes easily with a fork. If it’s translucent, it needs more time.
6. Can I poach frozen fish?
Yes, but add 3–5 minutes to the cooking time. Frozen fish drops the liquid temperature.
7. What is court-bouillon?
A flavored poaching liquid — water, wine, onions, carrots, bay leaf, peppercorns, and herbs.
8. Can I reuse poaching liquid?
For eggs, no. For fish or chicken, yes — strain and refrigerate for up to 3 days. It can be used again as a base for soups or sauces.
9. Can I poach vegetables?
Yes. Root vegetables, asparagus, green beans, and leeks all poach beautifully in a flavored liquid.
10. Can I poach fruit?
Yes. Pears, peaches, apples, and figs poach beautifully in wine with sugar and spices.
11. Can I poach chicken for meal prep?
Yes. Poach chicken, cool quickly in an ice bath, refrigerate, and use within 3 days.
12. Can I poach in a slow cooker?
Yes, but it’s tricky — slow cookers run too hot. Use the “warm” setting and monitor the temperature with a thermometer.
13. Should I salt the poaching liquid?
Yes, lightly. The liquid should taste pleasantly seasoned. But don’t oversalt — the food absorbs some of the liquid.
14. Can I poach and then sear?
Yes — this is a classic restaurant technique. Poach gently, dry the food, then sear in a hot pan for a crispy exterior.
15. How do I poach an egg perfectly?
Use very fresh eggs, bring water to 180°F with vinegar, swirl the water gently, and slide the egg into the center. Cook 3–4 minutes. Lift out with a slotted spoon.
Final Thoughts
Poaching is the technique that rewards patience and precision. It doesn’t produce dramatic results in minutes. It’s not flashy. But it produces food that’s moist, tender, and full of flavor.
The rules are simple:
Keep the liquid at 160–180°F — barely bubbling
Flavor the liquid — stock, wine, herbs, aromatics
Season the food before cooking
Don’t overcrowd the pot
Watch for doneness — don’t rely on time
Pat dry before serving or continuing to cook
Do those things, and poaching becomes one of the most useful techniques in your kitchen.
In professional kitchens, poaching was the technique that produced the most refined food on the menu. It wasn’t fast. It wasn’t dramatic. But it was precise.
Poaching isn’t cooking. It’s patience, temperature, and flavor — transforming food gently, one delicate dish at a time.
Disclaimer
This article is based on personal experience working in professional kitchens. Cooking techniques and results may vary based on your equipment, ingredients, and skill level. Photos are for illustrative purposes.